 FREE 1 to 3-Day Delivery on Orders $149+ Details
How to Install Rightline Gear Pop Up Tent (02-18 RAM 1500) on your Dodge RAM

Shop Parts in this Guide
Set Up The Tent
1-Clear sharp sticks and rocks from the ground.
2-Open the carry bag and remove the tent.
3-Unclip the buckle strap that holds the tent closed (Fig 1).
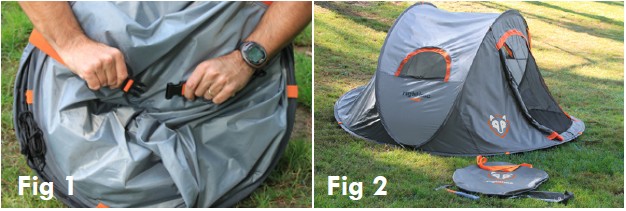
4-The tent will unfold by itself into the ready-for-use position (Fig 2).
5-Stake the (6) loops around the base of the tent (Fig 3).
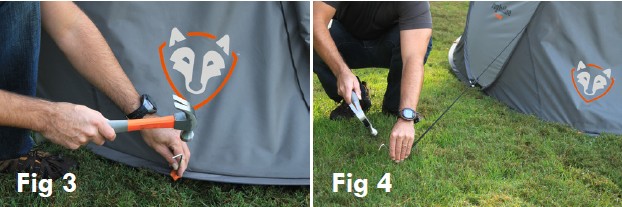
6-Stake the (3) guy lines of the tent (Fig 4).
7-Adjust the guy lines so that the tent will keep its shape in the wind.
8-Open the condensation vent (Fig 5).
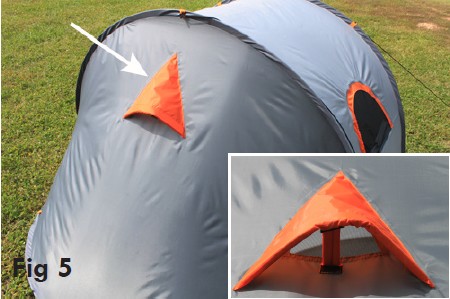
NOTE: A ground tarp and rain fly are not required.
Take Down The Tent
CAUTION: DO NOT USE EXCESSIVE FORCE WHEN TAKING DOWN THE TENT.
The tent should fold and bend easily. If one of the steps becomes difficult, back up a step and review the instructions.
1-Pull out the (9) stakes and place them in the stake bag.
2-Wipe the bottom of the tent clean. Make sure the tent is vented to allow air to escape when folding it.
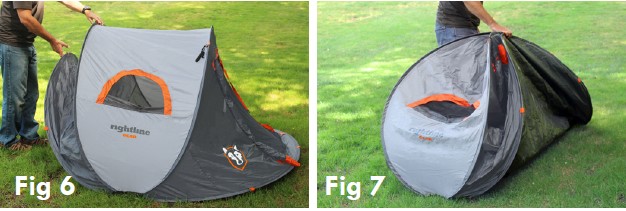
3-Bring all (4) frame pieces together and hold them with one hand (Fig 6 and 7).
4-Turn the tent to the vertical position with the buckle strap on the bottom half (Fig 8 and Fig 9).

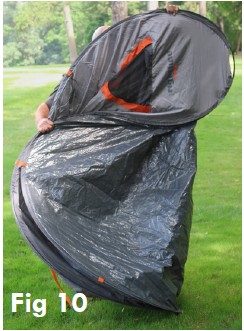
5-Twist the top half of the tent with your other hand until it is flat (Fig 10).
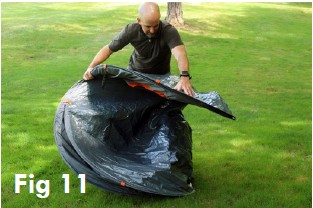
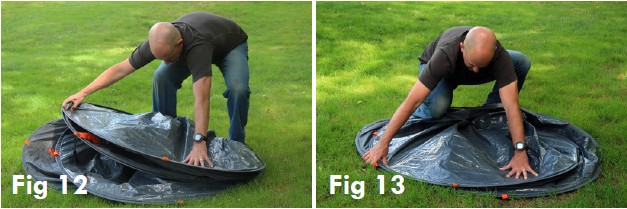
6-Fold the top half of the tent over the bottom half of the tent to create an oval shape (Fig 11, 12 and 13).
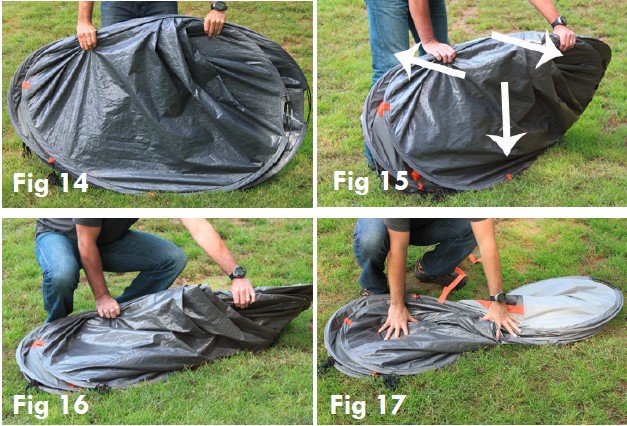
7-Stand the oval shape on its side (Fig 14). Bend the oval shape into a figure 8 by moving one hand towards you and one hand away from you while pushing down (Fig 15, 16 and 17).
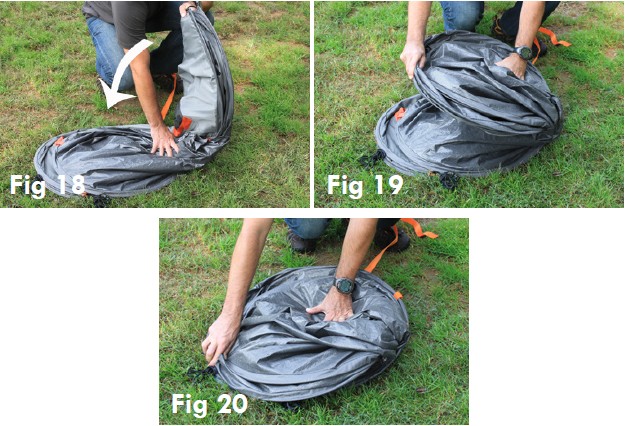
8-Bend one half of the figure 8 over the other half to create a small circle (Fig 18, 19 and 20).
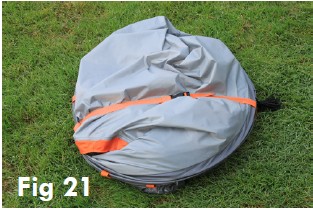
9-Connect the buckle strap around the folded tent (Fig 21).
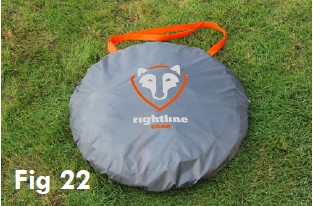
10-Place the folded tent into the round carry bag (Fig 22).
WARNING: KEEP ALL FLAME AND HEAT SOURCES AWAY FROM THIS TENT FABRIC
This tent meets the flammability requirements of CPAI-84. The fabric may burn if left in continuous contact with any flame source. The application of any foreign substance to the tent fabric may render the flame resistant properties ineffective.


