FREE 1 to 3-Day Delivery on Orders $149+ Details
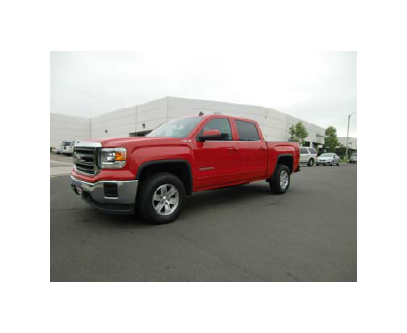
How to Install ReadyLIFT 4 in. Front / 1.75 in. Rear SST Lift Kit on your Sierra

Shop Parts in this Guide
Bill of Materials
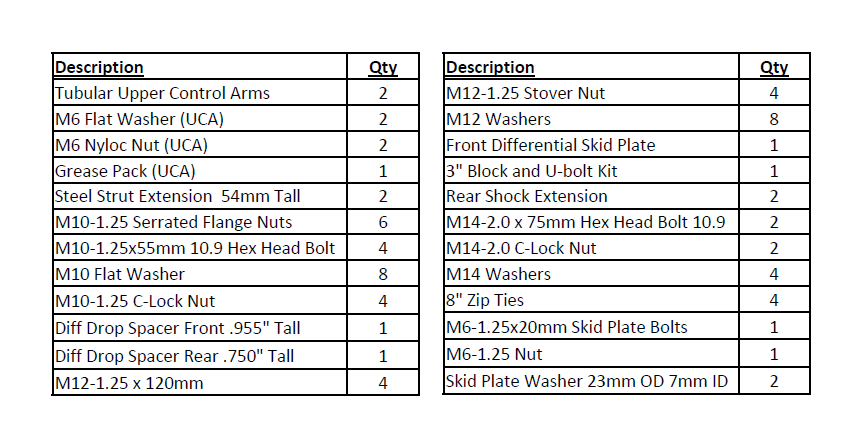
The Bill of Materials represents the component contents of this kit. All hardware is of the highest grade and the components are manufactured to exacting specifications for a trouble free installation. Use the attached torque specifications chart when final tightening of the nut and bolts are done.
1. Place vehicle on level ground.
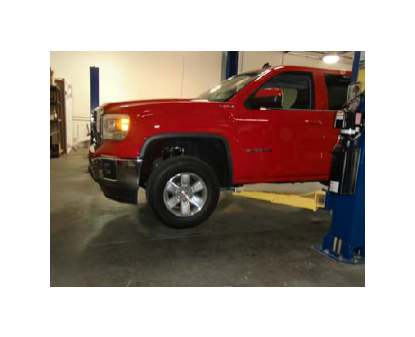
2. Raise vehicle and support vehicle to perform work.
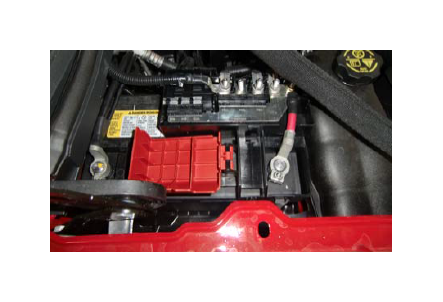
3. Disconnect battery connections.

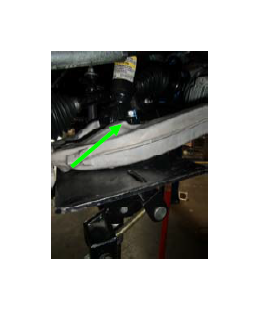
4. Remove plastic air dam.
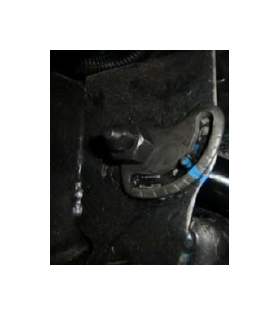
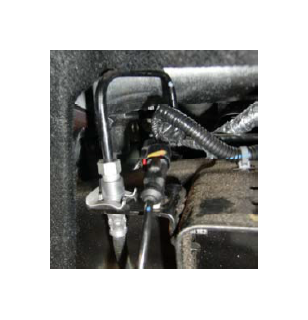
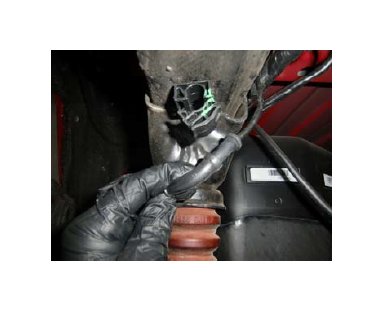
5. Locate ABS connections, disconnect and unhook.
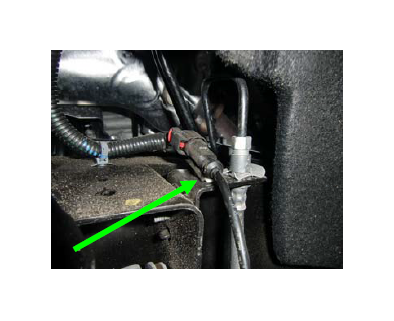
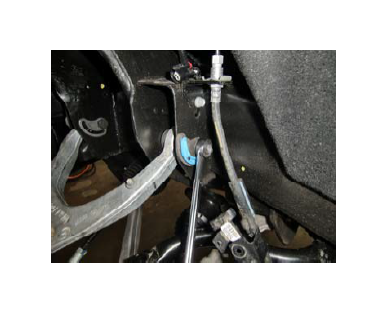
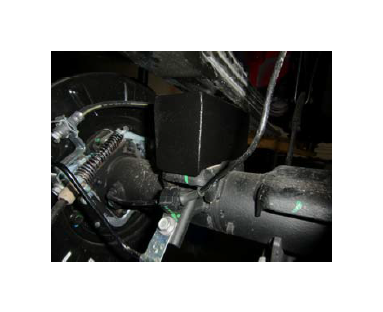
6. Unbolt brake line from upper control arm, unclip the ABS line.
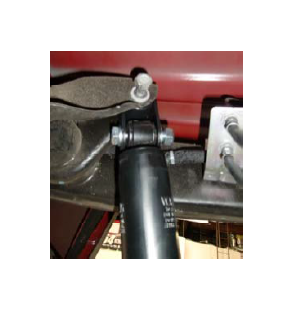
7. Disconnect sway bar & swing it out of the way.
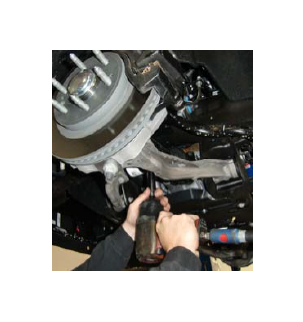
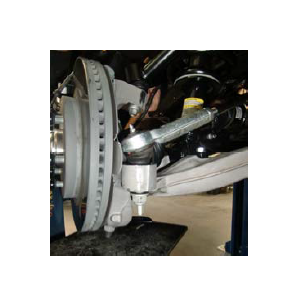
8. Remove caliper & secure to vehicle out of the way.
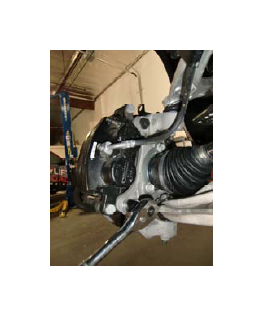
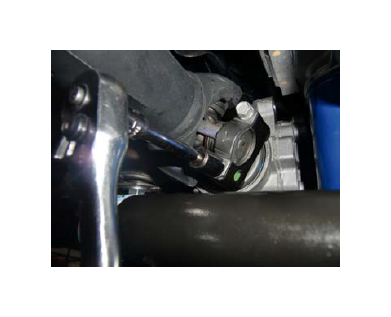
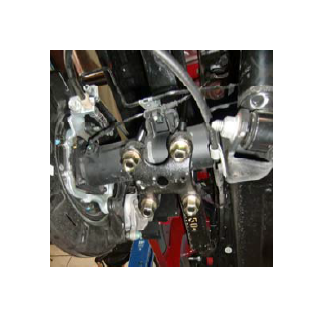
9. Loosen tie rod and remove from knuckle.
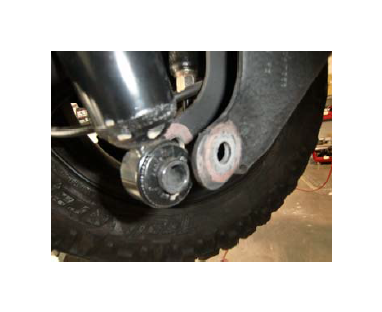
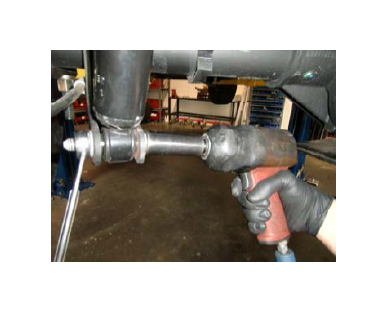
10. Remove bolts from inner CV drive flange.
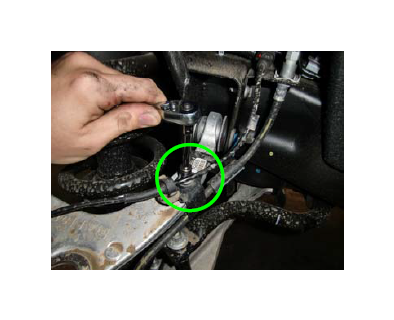
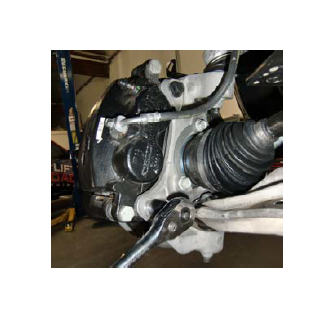
11. Loosen & separate ball joint from knuckle.
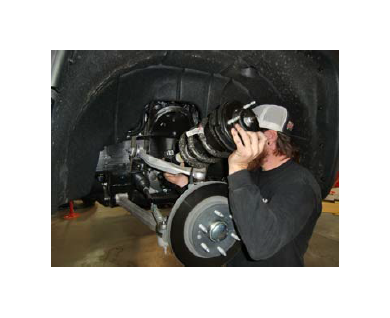
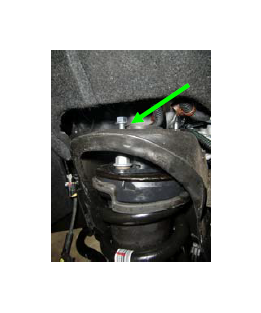
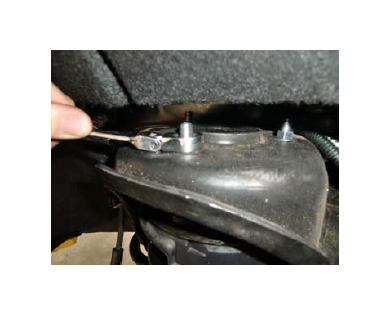
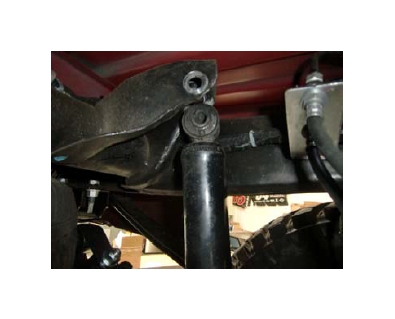
12. Remove nuts from the top of the struts.

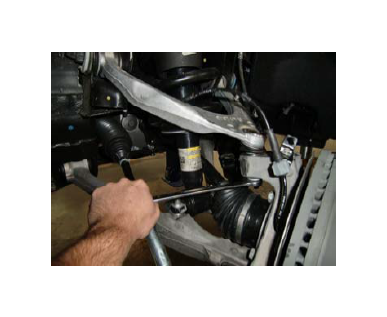
13. Loosen and remove bolts from lower strut mount.
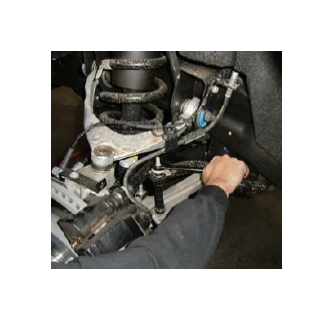
14. Remove strut from vehicle. Repeat 5-14 for other side.
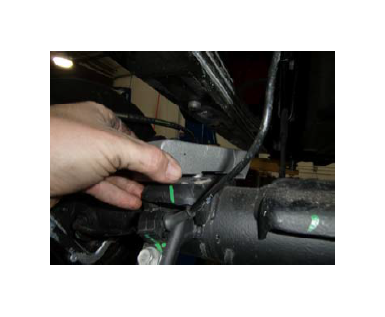
15. Mark alignment cams & note direction/location of hardware.
16. Remove hardware and arm. Repeat 15 & 16 on other side.
17. Loosen and remove front drive shaft bolts and straps.
18. Slide drive the shaft back and out of the way .
19. Remove plastic air dam tin mounting brackets.
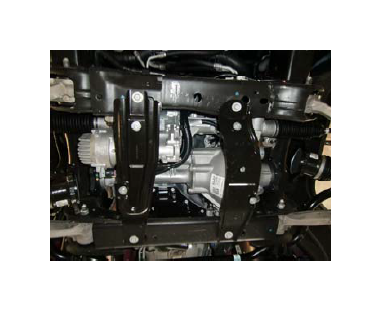
20. Loosen and remove cross member.
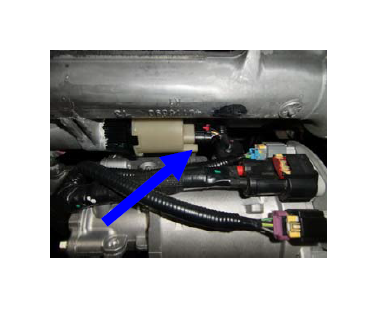
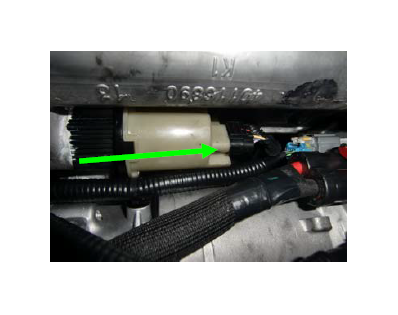
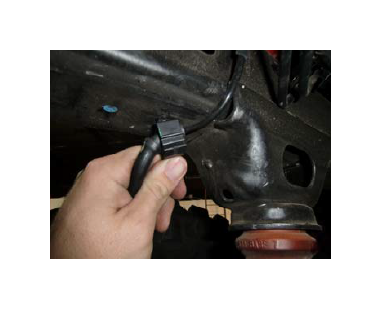
21. Disconnect 4wd engagement plug.
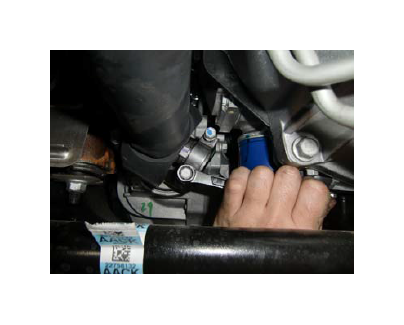
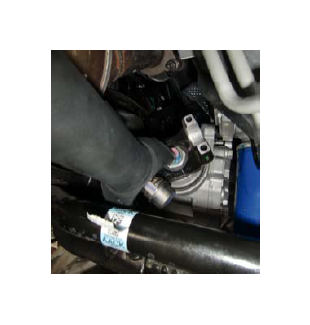
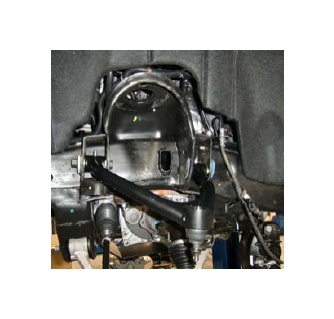
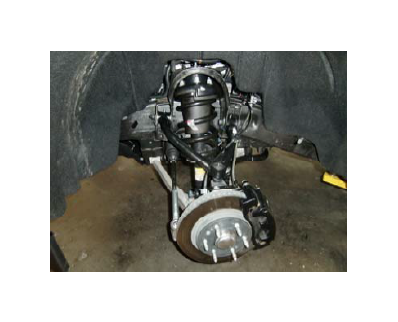
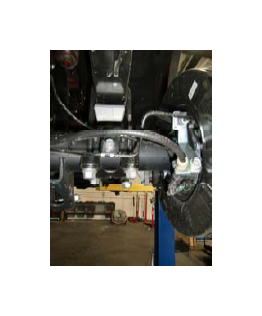
22. Support front differential.
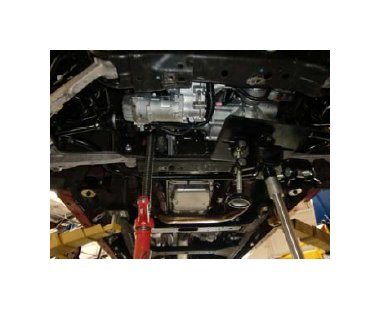
23. Remove stock mounting hardware at all 4 mounting points.
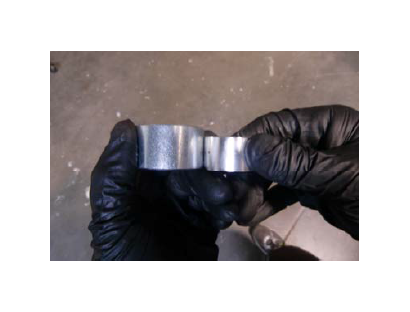
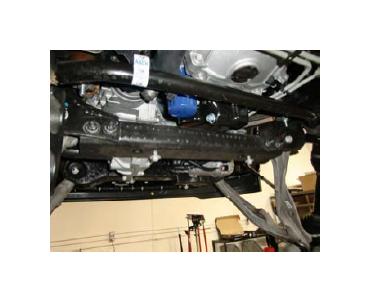
24. Lower front differential until you can insert the differential spacers. (We recommend doing one side at a time to keep the differential from becoming cumbersome when inserting the differential spacers) The large spacer goes toward the front of the truck and shorter spacer goes toward the rear of the vehicle. Once the spacers are in place install new differential hardware provided.
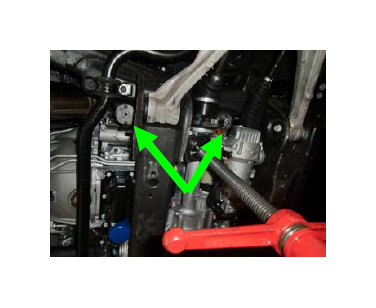
25. Front Spacer = Long and Rear Spacer = Short
26. Torque front differential and reconnect 4wd plug.
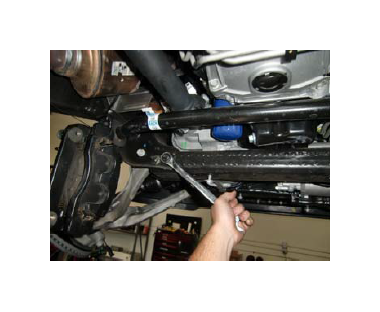
27. Reinstall the frame cross member.
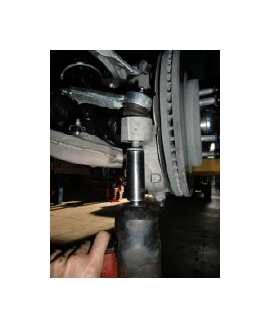
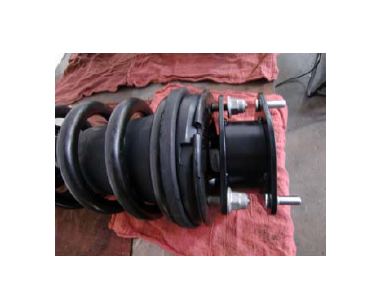
28. Install Readylift strut extension on both struts and torque.
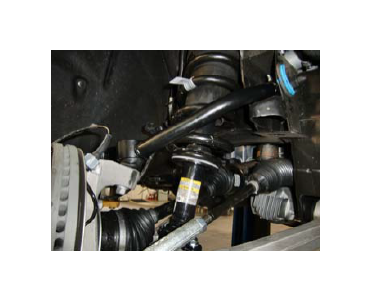
29. Install ReadyLIFT Tubular Control Arm.
30. Reinstall OEM hardware into is original location noting original direction of cam bolts and marks done at when you removed them.
(The plastic OEM Cam locks must be removed for the vehicle to be aligned properly)
31. Install strut with spacer leaving nuts loose.
32. Raise lower control arm to attach strut & torque.
33. When attaching strut to vehicle be sure to use provided hardware (serrated flange nuts on top and self locking nuts with washers on bottom with M10.9 bolts.)
The OEM lower nut clips and bolts will not be used. Doing so will cause damage to you vehicle.
34. Once the lower is tightened, torque the top nuts.
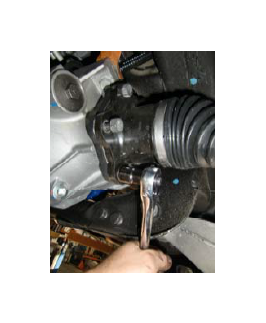
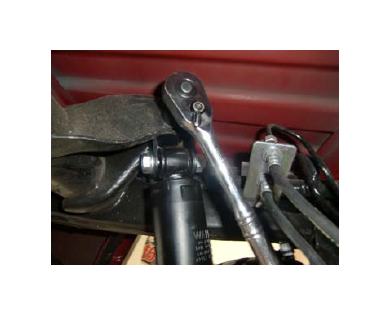
35. Connect upper control arm to knuckle and torque.
36. Re-attach the tie rod and torque.
37. Re-attach caliper & torque. Repeat 29-37 on other side.
38. Re-attach front drive shaft using OEM bolts and straps.
39. Reconnect Inner CV flange torque.

40. Reconnect brake line to control arm using new hardware.
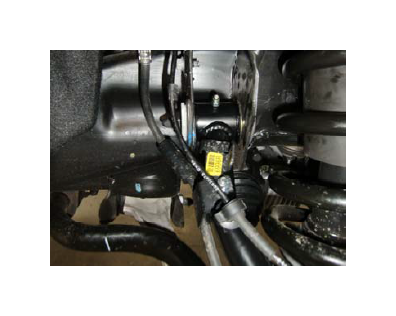
41. Reconnect ABS lines and attach in factory location.
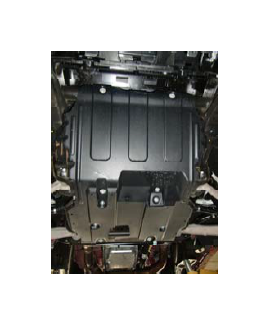
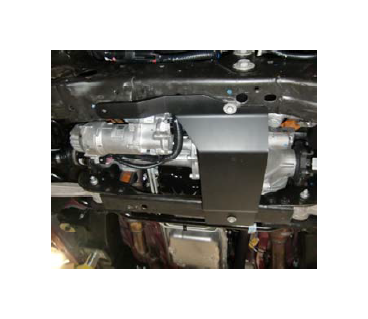
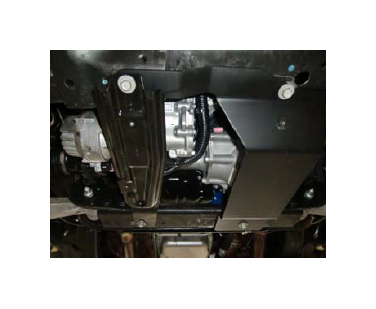
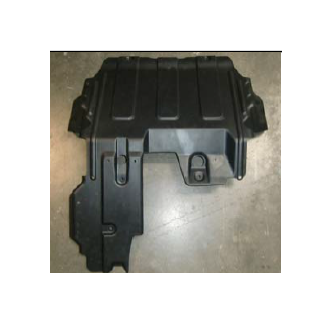
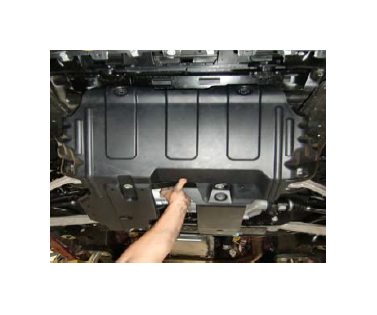
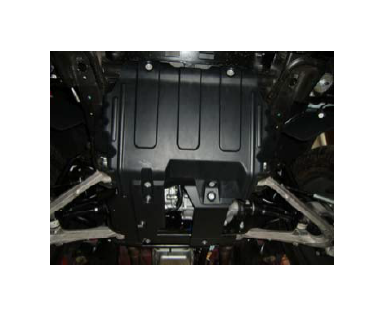
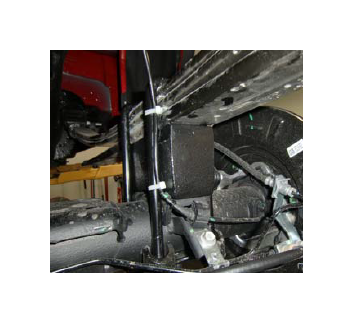
42. Install new ReadyLIFT skid plate.
43. Re-attach passenger side sheet metal for air dam mount.
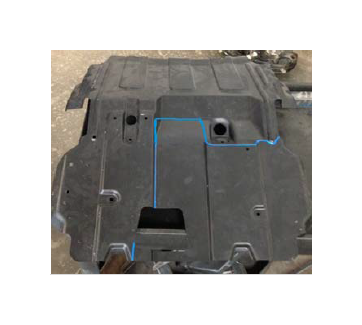
44. The factory air dam will require minor cutting and trimming to fit. We recommend using a paint pen or permanent marker to layout your cut lines. When cutting the air dam measure twice and cut once! We have laid out our cut lines in Blue paint pen. Our cut lines are intended to be a guideline. More trimming may be needed. Test fit air dam until you are satisfied with fit and finish.
45. Cut lines marked on air dam.
46. Air dam cut to fit.
47. Test fit to ensure fit and finish.
48. Use provided hardware to complete install of the air dam.
49. Front install is complete.
50. Rear Block Instructions
Place vehicle on level ground secure vehicle from rolling and raise the rear of the vehicle by the frame so the rear axle can hang down.
For steps 51-65 complete 1 step then repeat the step on the other side of the vehicle before moving to the next step.
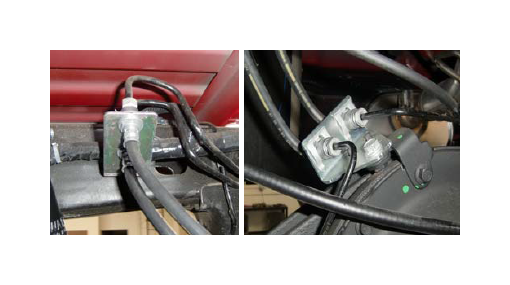
51. Unhook ABS line located on the rear of the frame.
52. Support the axle, remove the shock from the lower mount.
53. Remove U-Bolts, axle plate (one side at a time).
54. Lower axle and remove factory blocks.
55. Install the ReadyLIFT blocks, short side facing front.

56. Raise axle to engage lift blocks and centering pins.
57. Install new hardware and factory axle plate.
58. Remove shocks from upper mount.
59. Install shock extensions to the top of the shocks ( for OEM shocks only).
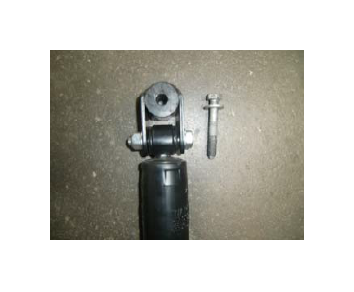
60. Install shock with extension into upper mount (leave Loose).
61. Install shock into lower mount and tighten.
62. Once lower mount is tight torque the top shock mount.
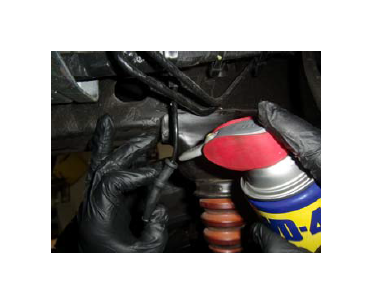
63. Lubricate the ABS line and slide rubber sleeve up to allow the wire to be re-installed in to frame clip.
64. Re-clip the ABS line back into place.
65. Using the zip ties provided attach the ABS line to the U bolt’s
66. You may need to bend the upper and lower brake line brackets to allow enough slack in the line at full droop.
67. Reconnect Battery and the installation is complete.
Once the installation is completed we recommend to double check all
work preformed.
* Turn the steering wheel from steer lock to lock to ensure the steering components are functioning properly and wheels and tires do not come in contact with control arms or inner fenders.
* Press the brakes several times to ensure the brake system is functioning properly.
* All vehicles must be aligned after any alteration to the vehicles suspension system.
* Torque wheels to manufactures specifications. Once the vehicle is on the ground verify tire pressures before the vehicle is driven.