 FREE 1 to 3-Day Delivery on Orders $149+ Details
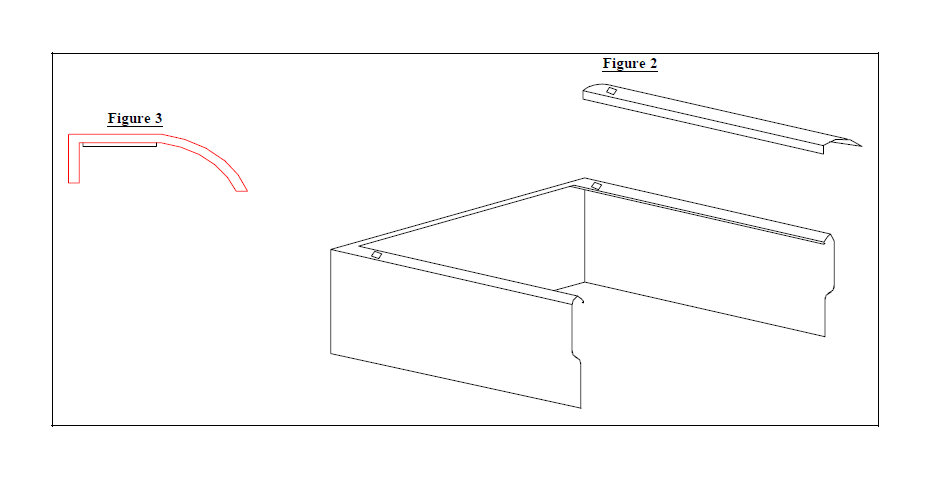
How to Install Putco Stainless Steel Bed Rail Skins on your Sierra

Shop Parts in this Guide
PLEASE READ ALL INSTRUCTIONS BEFORE BEGINNING INSTALLATION AND BE SURE TO CHECK TO SEE THAT ALL PARTS AND HARDWARE ARE INCLUDED.
NOTE: Surface temperature at time of installations must be above 12°C / 60°F for proper tape adhesion.
Step 1: Before removing the backing from the tape, place the Putco Skin on the box rail to check fit.
Step 2: Area to be covered must be thoroughly cleaned and free of all waxes and or special coatings. Entire surface must be wiped down with rubbing alcohol. (Do Not substitute alcohol with any other cleaners).
Step 3: Remove backing from tape. Being careful not to touch item to vehicle until positioned correctly. Once attached press firmly with the palm of your hand, working from the center out. Once the Putco Skin is in place it cannot be moved without damage to the part.
Note: PUTCO recommends applying a high quality automotive wax to maintain the original appearance on your new master cap.


