FREE 1 to 3-Day Delivery on Orders $149+ Details
How to Install Rugged Ridge Stainless D-Rings Pair w/ Xtreme Heavy Duty Bumper (07-17 All) on your GMC Sierra
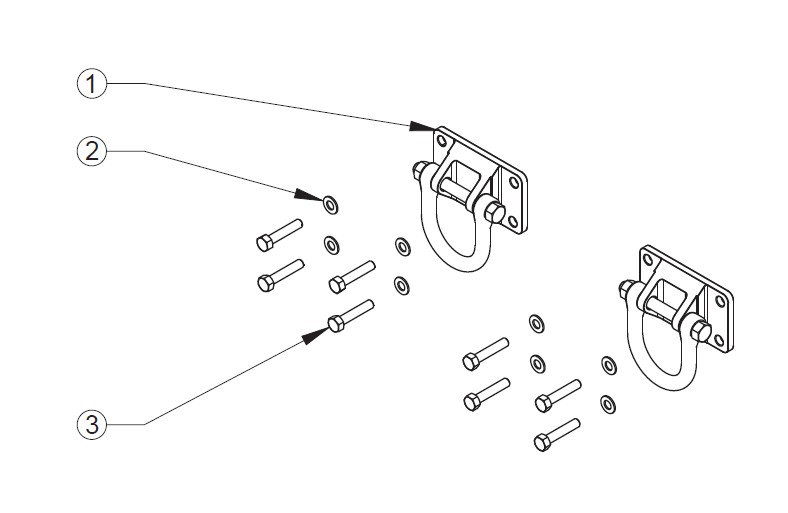
Contents:
1. Stainless Steel D-Rings (2)
2. 12mm Stainless Washer (8)
3. 12mm Stainless Bolt (8)
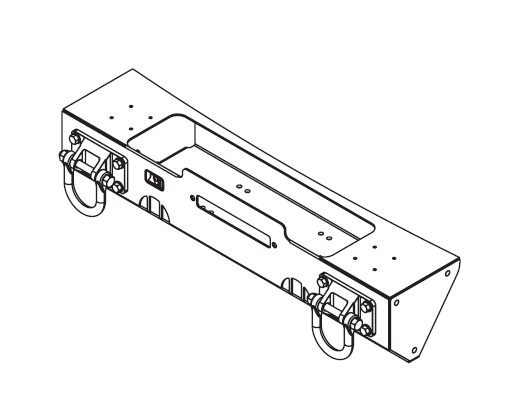
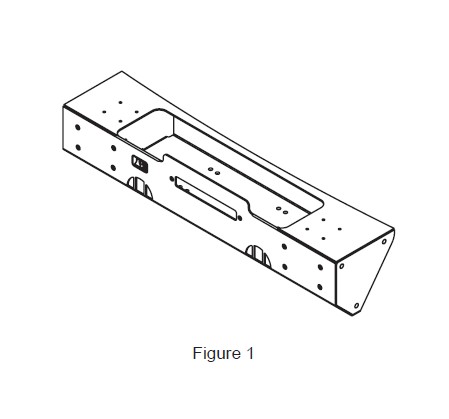
1. If installing as part of a new installation, place Center Section of Bumper onto frame rails, but do not yet attach. If SS D-Rings are being added to an existing installation, remove existing D-Rings from Center Section. Center Section should be sitting on the frame rails, but not attached (Figure 1).
2. Install 8 SS Bolts through the SS Washers, through the SS D-Rings, through the Center Section, through the Frame Horns, and into the Washers and Lock Nuts provided with Center Section. Do not tighten any of them yet.
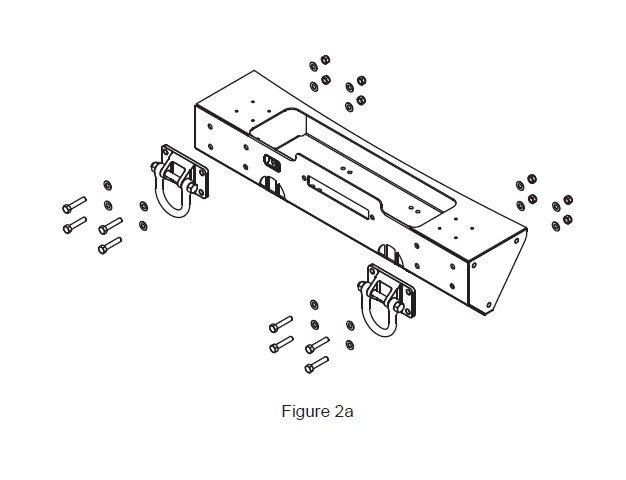
3. Once all 8 bolts have been started, tighten them. Installation is now complete!