FREE 1 to 3-Day Delivery on Orders $149+ Details
How to Install Rugged Ridge All-Terrain Fender Flares (09-18 RAM 1500) on your Dodge RAM

Shop Parts in this Guide
CONTENTS:
1. Fender Flares (4)
2. M8 Socket Head Cap Crews (40)
3. M8 Flat Washers (40)
4. M8 Locking Hex Nuts (40)
5. #10 U - Clamps (6)
6. Phillips Head Screws (6)
7. Roll of edge trim

PLEASE READ AND UNDERSTAND ALL INSTRUCTIONS BEFORE YOU BEGIN
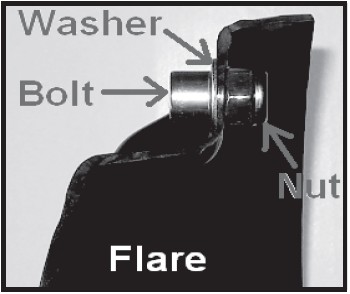
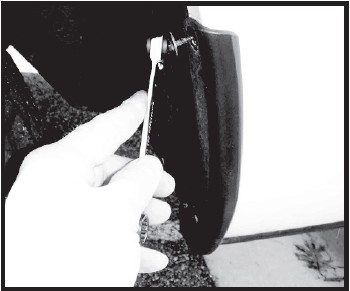
Step 1. Install the supplied decorative cap screws onto the flares. Place a washer on the bolt and insert the bolt through the hole in the flare. Place a lock nut onto the back side of the flare to secure the bolt. Repeat for all hole locations.
Step 2. Install the edge trim onto the flares. Clean inside mounting lip edge with rubbing alcohol. Install edge trim as shown by removing red vinyl tape covering only a few inches at a time. Do not stretch the trim while being applied, this may cause shrinkage after installation. Trim excess off.

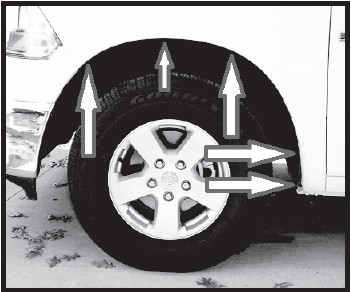
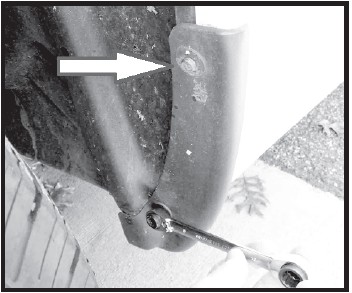
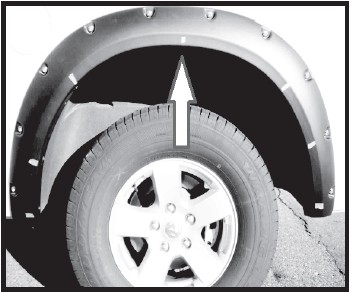
Step 3. Remove factory screws located in front wheel well housing as indicated by the large arrows in the image. Do not discard the factory hardware it will be reused to attach the fender flare. Install one of the U clamps in the area indicated by the small arrow. If an emblem interferes with proper installation of flare, remove it. Apply adhesive remover to the emblem for ease of removal. Using a plastic putty knife, carefully remove it, taking care not to scratch the paint
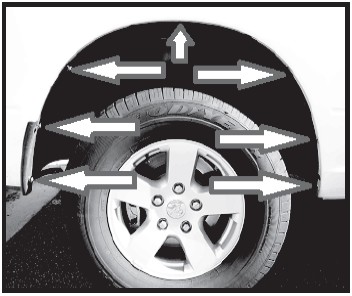
Step 4. 2011 and newer models. Removal of the corner guards will be necessary for installation of the flares. Depending on the model you may have one or two hex screws holding the guard to the inner part of the wheel well. If there is only one hex screw in the wheel well you will need to place a second u clamp in the area indicated. You will also need to remove the nylon phillips head rivet from the bottom of the guard.
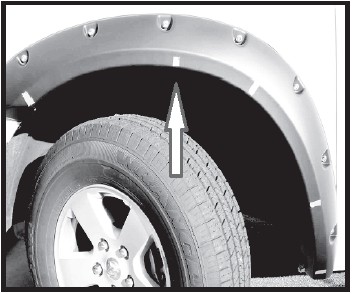
Step 5. Install the flare using the factory hardware previously removed. Use one of the supplied phillips head screws in the area indicated by the small arrow. Slight pressure against the outside of the flare pushing towards the vehicle will be needed for installation. Repeat this procedure for the other front flare.
Step 6. Remove factory screws located in the rear wheel well housing as indicated by the large arrow in the image. Do not discard the factory hardware it will be reused to attach the fender flare. Install one of the U clamps in the area indicated by the small arrow.
Step 7. Remove the rear wheel well corner guard. It is held on by the two hex screws and two T20 torx head plastic rivets on the bottom.
Step 8. Install the rear flare using the factory hardware previously removed. Use one of the supplied phillips head screws in the area indicated by the small arrow. Slight pressure against the outside of the flare pushing towards the vehicle will be needed for installation. Repeat this procedure for the other rear flare.
Optional Painting Instructions
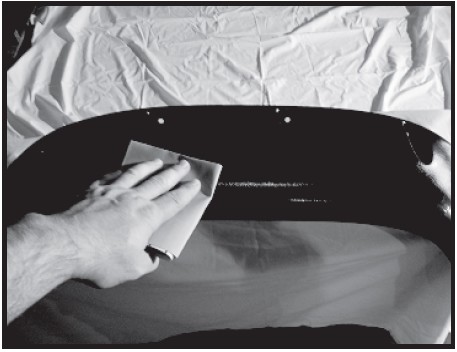
NOTICE: Do not use any harsh chemicals on flares. Use only plastic approved cleaning chemicals. Paint Preparation:
1. Lightly sand flares with 320 grid sandpaper.
2. Remove all surface contaminants from flares using an approved grease and wax remover.
3. Wipe flares with a tack rag to remove any dust or dirt.
Painting:
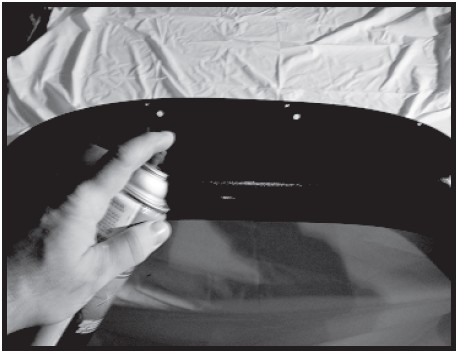
1. Apply two even coats of adhesion promoter to flares. Allow recommended flash time between coats. Let second coat dry for 15 minutes before primer application.
2. Apply an even coat of primer to flare surface. (A high build primer is recommended)
3. Paint flares with a automotive grade paint. (A flex additive must be added to paint)