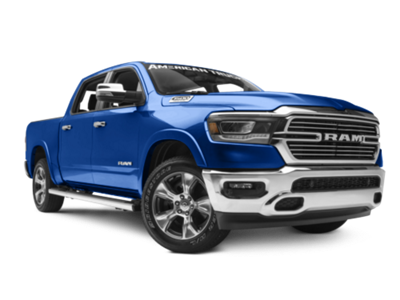
 2019-2026
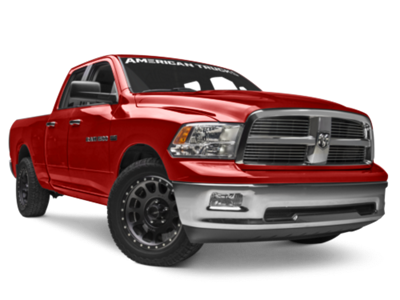 2009-2018
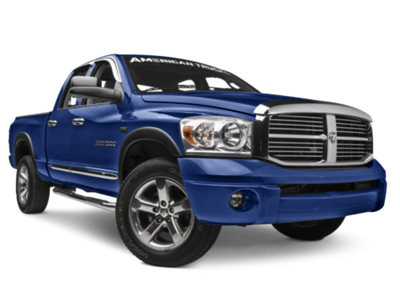 2002-2008


Installation Time
(approx) 1 Hour
Difficulty Level:
Light to Moderate mechanical skill required.
Installation Guides
No guide available for this part yet.
 FREE 1 to 3-Day Delivery on Orders $149+ Details
$419.99 pair
CONFIRM THIS FITS YOUR VEHICLE!
Saved - View your saved items
We're sorry. We couldn't save this product at this time.
or use
Features, Description, Reviews, Q&A, Specs & Installation
| Headlight Type | Projector |
| Headlight Housing Color | Black |
| Headlight Lens Color | Clear |
| Headlight Style | Aftermarket Style |
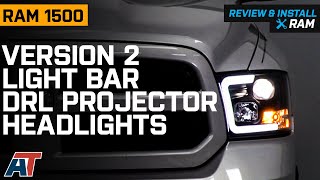
Enhanced Visibility Upgrade. The Version 2 Headlights Light Bar enhances both the aesthetic appeal and functional lighting of your vehicle. Designed as a direct replacement, it provides superior illumination to improve night driving safety and style.
_x000D_Construction and Appearance. Manufactured in OEM-approved and ISO-certified facilities, these headlights meet OEM quality standards. Built with durable materials and equipped with high-quality bulbs, they ensure a reliable and polished finish that matches factory specifications.
_x000D_Installation. These headlights are designed for easy plug-and-play installation with no drilling required, providing a hassle-free upgrade that saves time and effort.
_x000D_Application. Specifically engineered to fit 09-18 RAM 1500 models equipped with factory halogen non-projector headlights, ensuring precise compatibility and optimal performance.
Shop All Truck Parts And Accessories
Shop All Truck Headlights
Shop All Truck Lights And Cargo Lights
CA Residents:  WARNING: Cancer and Reproductive Harm - www.P65Warnings.ca.gov
Installation Info
Installation Time
(approx) 1 Hour
Difficulty Level:
Light to Moderate mechanical skill required.
Installation Guides
No guide available for this part yet.
What's in the Box
Sponsored
