 FREE 1 to 3-Day Delivery on Orders $149+ Details
How to Install Putco Window Trim - on your F-150

Shop Parts in this Guide
Please read all instructions before installation and to check to see that all parts are included.
Door Sill Trim Installation
1. Clean and dry the vehicle thoroughly.
2. The vehicle surface temperature must be a minimum of 15°C (60°F).
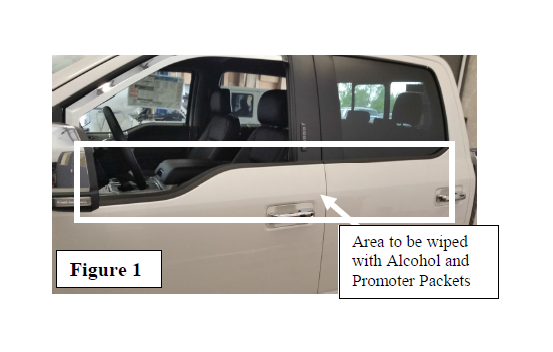
3. Clean vehicle's window trim with Isopropyl alcohol and clean towel. Then, wipe down window trim with promoter packets. Wait till promoter is dry before installing window trim. (Driver side window trim is shown in Figure 1) This will ensure proper adhesion to the vehicle.
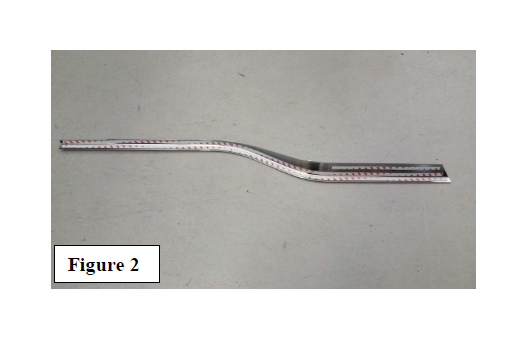
4. As shown in Figure 2, remove the backing from the 3M tape on the back of the front window trim.
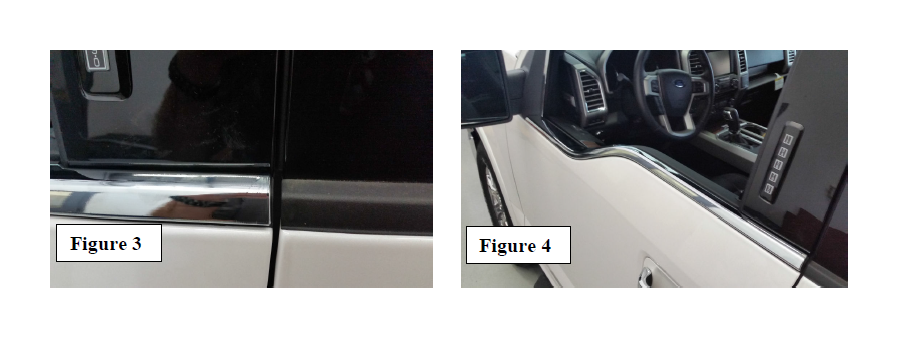
5. Align the front window trim on top of the vehicle's window trim. IMPORTANT: Do not allow the adhesive surface of the trim to touch the vehicle prior to being in the correct location. Align the end of the window trim with the end of the vehicle's window trim as shown in Figure 3. Press and hold in position for 30 seconds to ensure proper adhesion. See Figure 4 for final placement.
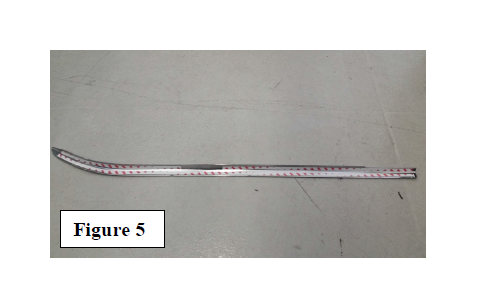
6. As shown in Figure 5, remove the backing from the 3M tape on the back of the rear window trim. (rear window trim is not in all kits)
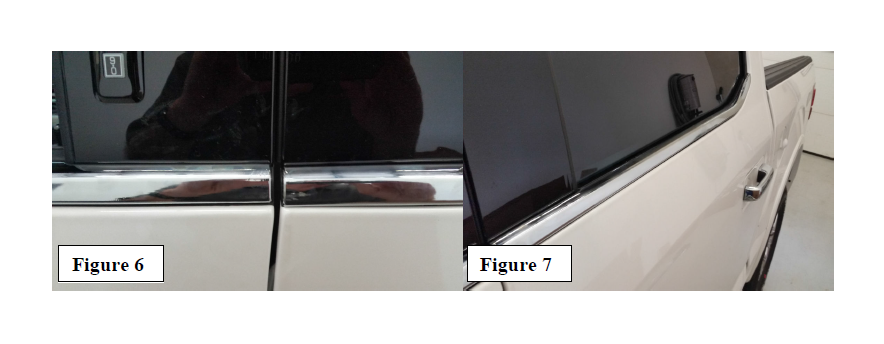
7. Align the rear window trim on top of the vehicle's window trim. IMPORTANT: Do not allow the adhesive surface of the trim to touch the vehicle prior to being in the correct location. Align the end of the window trim with the end of the vehicle's window trim as shown in Figure 6. Press and hold in position for 30 seconds to ensure proper adhesion. See Figure 7 for final placement.
8. Repeat steps 3 through 7 for the passenger side of the vehicle
