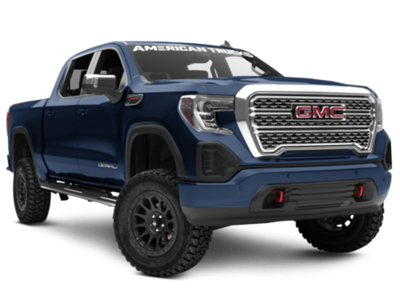
 2019-2026
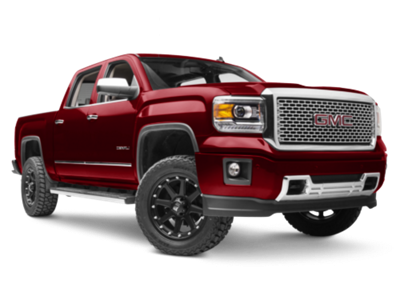 2014-2018
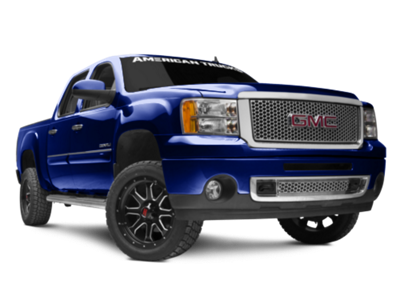 2007-2013
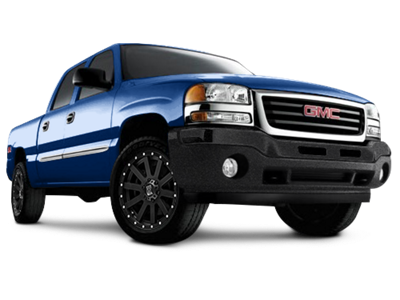 1999-2006


Installation Time
(approx) 2 Hours
Difficulty Level:
Simple installation for anyone.
Installation Guides
No guide available for this part yet.
 FREE 1 to 3-Day Delivery on Orders $149+ Details

$1,146.67 kit
CONFIRM THIS FITS YOUR VEHICLE!
Saved - View your saved items
We're sorry. We couldn't save this product at this time.
or use
Features, Description, Reviews, Q&A, Specs & Installation
| Brand | PowerStop |
| Brake Rotor and Pad Kit Placement | Front and Rear |
| Brake Rotor Type | Drilled and Slotted |
| Brake Pad Material | Carbon Ceramic |
Performance Boost. Stop reliably and safely while on the job with your Sierra by adding this PowerStop Z36 Extreme Truck and Tow 6-Lug Brake Rotor, Pad and Caliper Kit; Front and Rear to your rig. It features expertly crafted calipers and precision drilled rotors for improved heat management. The improved cooling is great for extending pad and rotor service life, so you don't have to change your Brake Kit every now and again.
Carbon Ceramic Formula. Thanks to innovations in brake technology, PowerStop has utilized a carbon fiber ceramic blend to great an effective Bake Pad capable of heavy-duty workloads without causing as much noise and dust as your typical stock unit. It is dependable and consistent.
Installation. This product is easy to install and should take about 2 hours.
Application. The PowerStop Z36 Extreme Truck and Tow 6-Lug Brake Rotor, Pad and Caliper Kit; Front and Rear fits 2014-2018 Sierra 1500 Models.
Information on PowerStop's proper Break-In Procedure can be found here: https://www.powerstop.com/brake-pad-break-in-procedure/
PowerStop KC6560-36
CA Residents:  WARNING: Cancer and Reproductive Harm - www.P65Warnings.ca.gov
Installation Info
Installation Time
(approx) 2 Hours
Difficulty Level:
Simple installation for anyone.
Installation Guides
No guide available for this part yet.
What's in the Box
Tech Guides:
Sponsored
