 FREE 1 to 3-Day Delivery on Orders $149+ Details
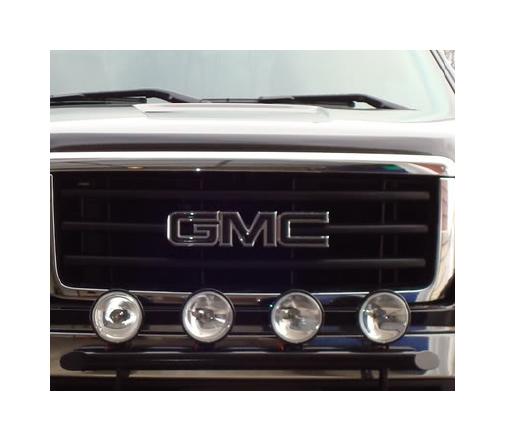
How to Install PIAA Trail Light Mounting Bar on your Sierra
Installation Time
30 minutes
Tools Required
- 9/16” Socket Wrench
- Black Marker
- Drill and ½” drill bit
- Metal punch and Hammer
Hardware Kit Contains:
2) 3/8” x 1” Hex Head Bolts
2) 3/8” Washers
Step 1: Remove the pre-installed hardware from the lightbar. Hold the Light Bar up to the face of the bumper where the round mounting brackets are lat against the bumper. Use the top of the bumper to align the Light Bar perpendicular to the ground.
Step 2: While the Light bar is positioned on the bumper, mark around the two mounting brackets onto the bumper. Next, remove the light bar and set aside. You should have two circular marks on the bumper.
Step 3: Mark an ‘X’ through each circle, this will give you the center. Use a metal punch and hammer to punch a pilot hole through the center of the circle.
Step 4: Drill a ½” hole through the pilot marks. NOTE: Make sure the holes are free of metal burrs.
Step 5: Align the Light Bar mounts to the drilled holes and place a 3/8”x 1” bolt and the 3/8” washer through the back side of the bumper and thread into the light bar bracket. After Final positioning, torque each bolt location to 15-20 ft/lbs. NOTE: Removing the bumper may be easier on some models.


