FREE 1 to 3-Day Delivery on Orders $149+ Details
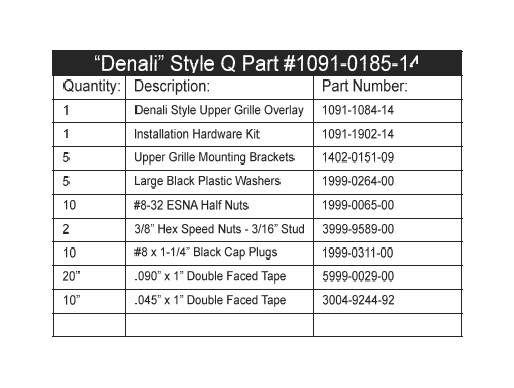
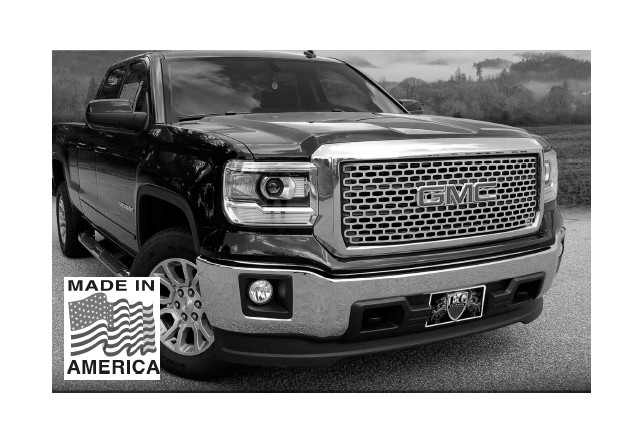
How to Install E & G Denali Style Z Upper Overlay Grille - Chrome (14-15 Sierra 1500 w/o All-Terrain Package) on your GMC Sierra
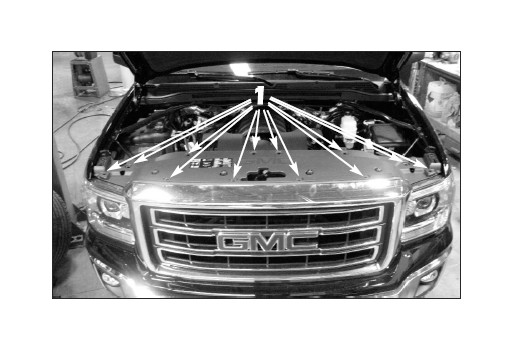
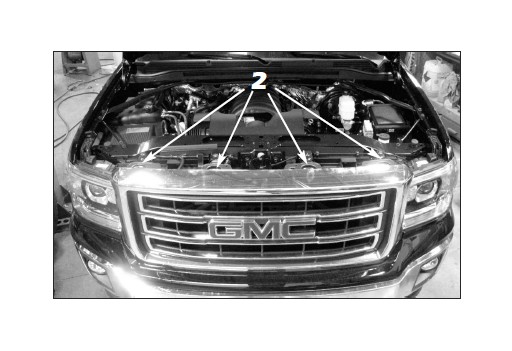
1. Open the hood and use a flat blade screwdriver to remove the factory push pins securing the top of the factory grille center section to the radiator support panel.
2. Remove the lamm hex bolts from across the top of the factory grille.
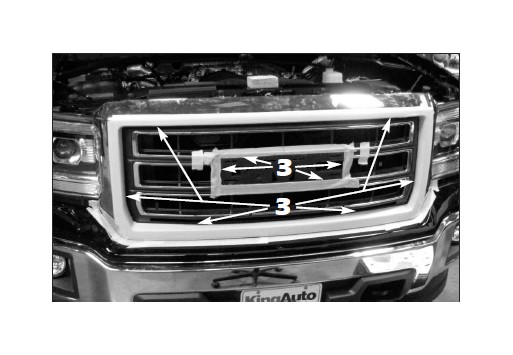
3. Apply masking tape around the factory GMC emblem and use a plastic clip removal tool to pry the emblem around the perimeter until the emblem releases (not shown). Once the emblem has been removed, apply masking tape to the factory chrome
surround.
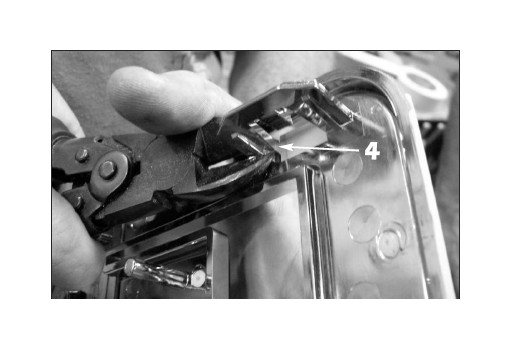
4. For customers reouestino emblem re installation Carefully cut the factory mounting tabs from the back of the factory emblem.
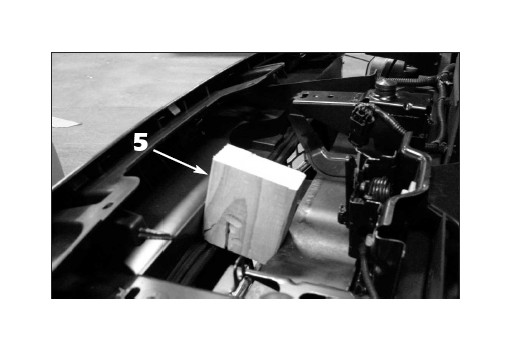
5. Cut a 4" section of 2 x 4, lift up and pull forward on the upper portion of the factory grille and place the 2 x 4 section where shown to allow access for hardware installation.
6. Remove the factory chrome inserts from the factory grille. Use a plastic clip removal tool to start the removal process.
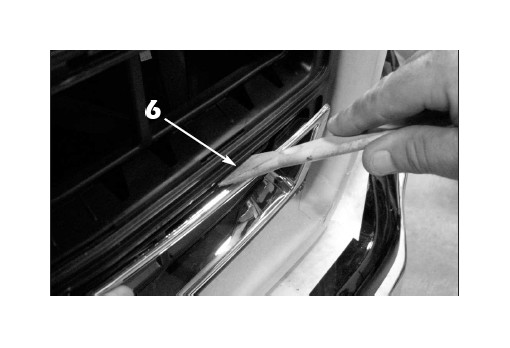
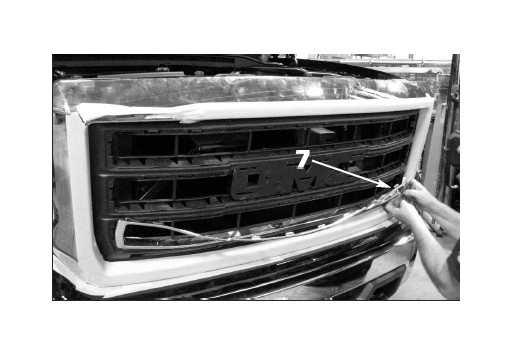
7. Pull the factory mouldings out of the mounting slots in the factory grille to rem voe them. This will require extra effort.
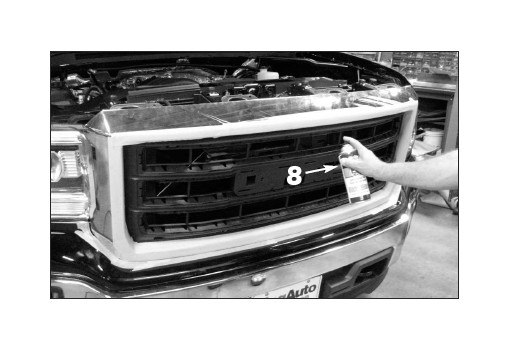
8 Apply flat or semi-gloss black paint the any areas on the factory grille that were stressed during the chrome moulding removal. The stressed plastic will appear light gray or white.
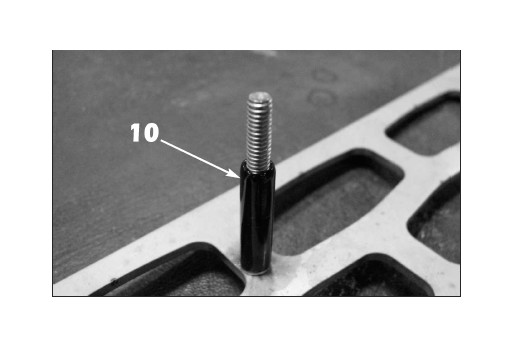
9. Trim the ends from the supplied black cap plugs and install them over the mounting studs on the back of the E&G grille.
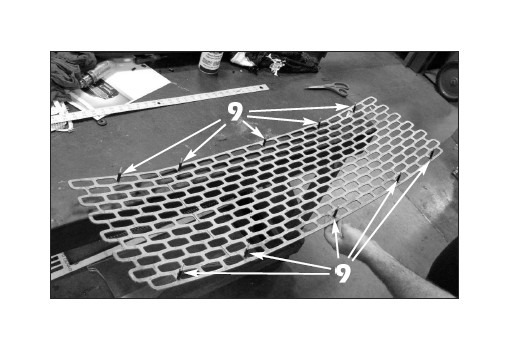
10. C\ose up of the installed black cap plugs.
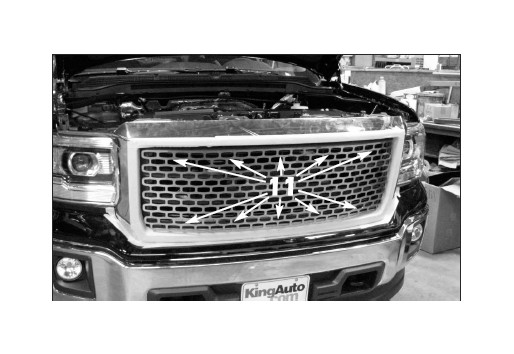
11 Install the E&G grille over the factory grille making sure all mounting studs pass through the openings in the factory grille.
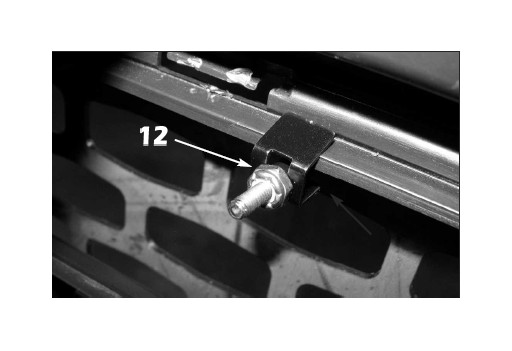
12. Install the grille upper mounting brackets using the supplied # 8- 32 ESNA half nuts (as shown) to all five upper mounting studs. Tighten until the E&G grille is snug against the factory grille.
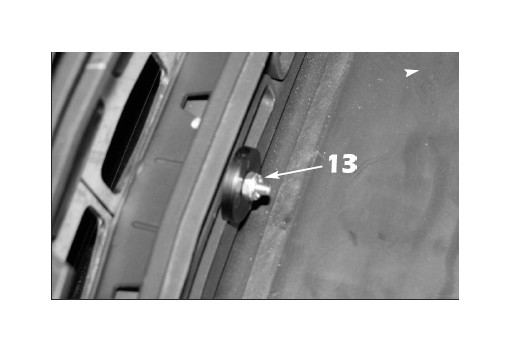
13. Install the supplied large black plastic washers across the bottom of the grille using the supplied # 8-32 ESNA half nuts.
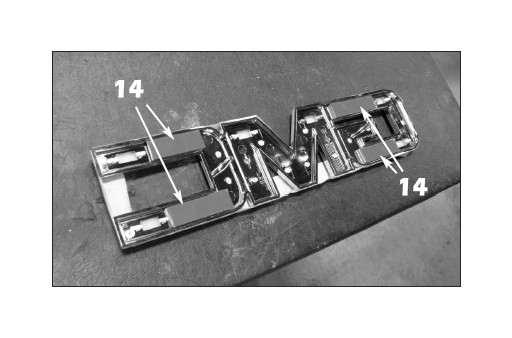
14 For customers reouestino emblem re installation Cut the supplied .090" x 1 " double faced tape and the .045" x 1 " double faced tape into 2-1/2" long strips and install the strips where shown on the back of the emblem. Stack 2 strips of the .090" thick tape with one strip of the .045" thick tape at each of the four locations.
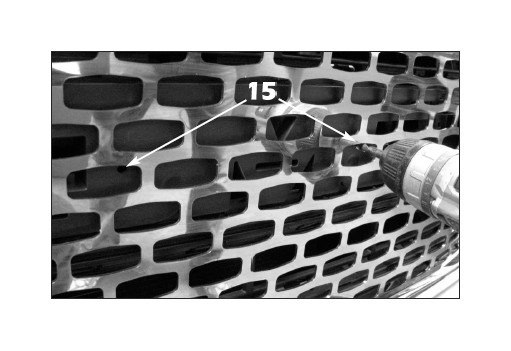
15. For customers reauestino emblem re installation Locate the existing alignment pin holes for the factory emblem. Use a 1/4" drill bit to drill new holes directly below the factory holes.
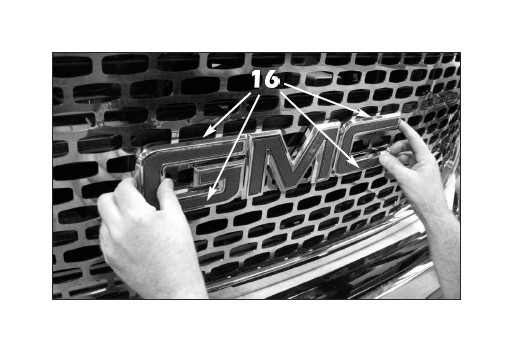
16. For customers reauestino emblem re installation Peel off the double faced tape backing from the tape installed in step 14. Align the factory emblem with the holes drilled in the previous step and press firmly enough to set the tape.
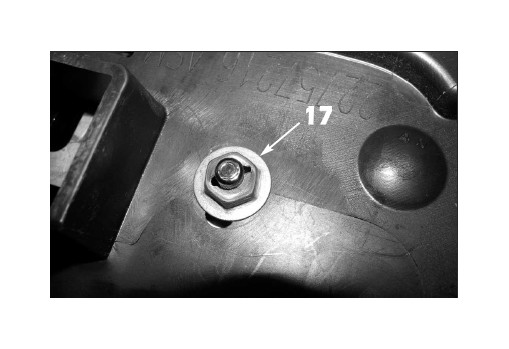
17. Insta\I the supplied speed nuts onto the factory alignment pins and once started, turn the nut an additional 114 to 112 turn to secure.
18. Reinstall the factory hardware across the top of the grille

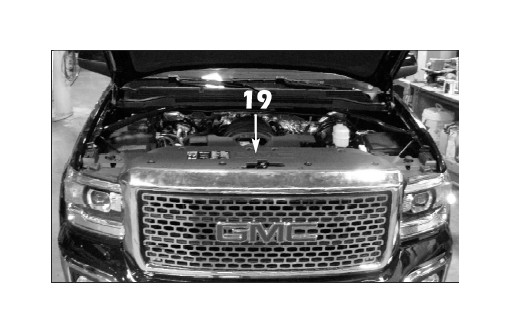
19. Align the factory radiator support panel back into place and install the plastic push pins and close the hood to finish the installation.