FREE 1 to 3-Day Delivery on Orders $149+ Details
How to Install K & N Drop-In Replacement Air Filter on your F-150

Shop Parts in this Guide
Congratulations, you have purchased the finest air filter that money can buy. With proper care, this filter will last 1 million miles or more. This filter is a direct replacement for the stock air filter, and no modifications will be required. However the following procedure MUST be followed to ensure a proper fit and seal of the K&N Air Filter.
Installation
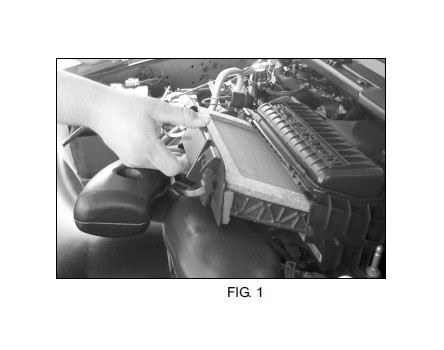
1. Unfasten clamps and slide tray out from air box and remove the stock filter. (Fig. 1)
2. Wipe away dirt and debris from tray and air box.
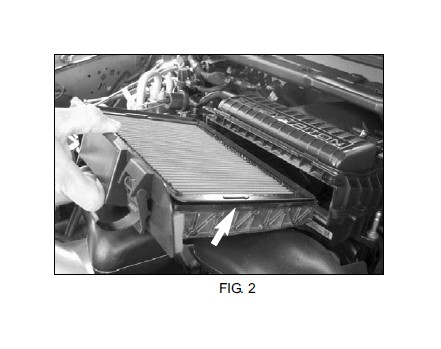
3. It is very important to place K&N Air Filter in tray with arrows facing towards air box. (Fig. 2)
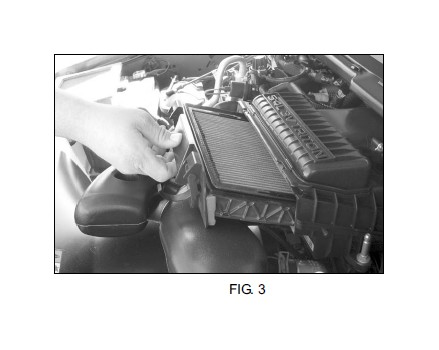
4. Slide tray with K&N Air Filter back into air box. (Fig. 3)
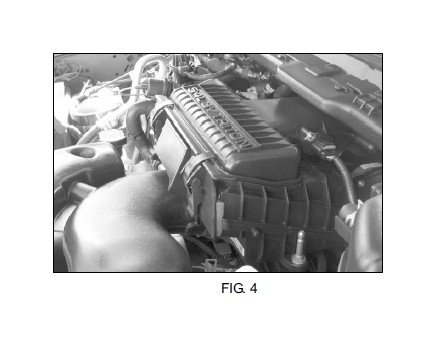
5. Secure airbox clamps. (Fig. 4)
THESE INSTRUCTIONS MUST BE MUST BE FOLLOWED EVERY TIME THE FILTER IS SERVICED, OTHERWISE THE FILTER MAY NOT SEAL, AND DAMAGE TO THE ENGINE COULD RESULT.