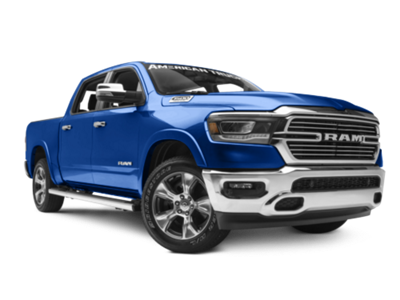
 2019-2026
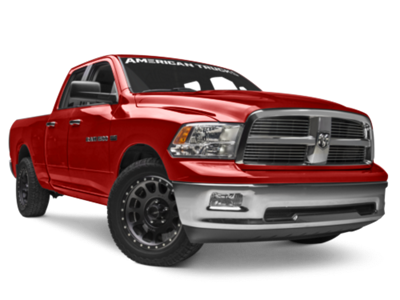 2009-2018
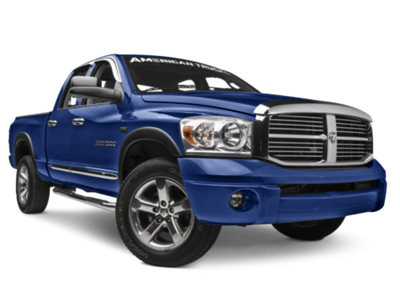 2002-2008


Installation Time
(approx) 4 Hours
Difficulty Level:
Mechanical expertise or professional installation required.
 FREE 1 to 3-Day Delivery on Orders $149+ Details

$885.00 kit
CONFIRM THIS FITS YOUR VEHICLE!
Saved - View your saved items
We're sorry. We couldn't save this product at this time.
or use
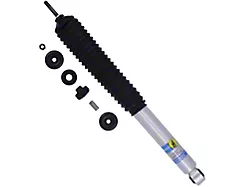
Bilstein B8 5100 Series Rear Shock for 0 to 2-Inch Lift (19-26 4WD RAM 1500 w/o Air Ride, Excluding Rebel, RHO & TRX)
 500+
500+

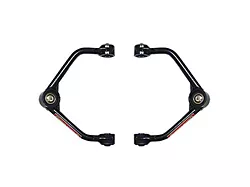
Rough Country Suspension Forged Upper Control Arms for 3 to 3.50-Inch Lift (19-26 RAM 1500, Excluding RHO & TRX)
20
SkyJacker Upper A-Arms with HD Ball Joints for 2 to 3-Inch Lift (19-26 4WD RAM 1500 w/o Air Ride, Excluding RHO & TRX)
 25
25
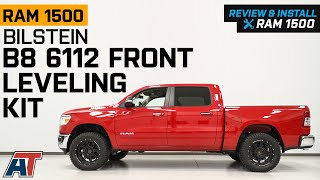
Features, Description, Reviews, Q&A, Specs & Installation
| Brand | Bilstein |
| Leveling Kit Location | Front |
| Leveling Kit Lift Height | 2.50 Inch |
| Leveling Kit Includes Shocks | Shocks Included |
Bilstein 47-293540
CA Residents:  WARNING: Cancer and Reproductive Harm - www.P65Warnings.ca.gov
Installation Info
Installation Time
(approx) 4 Hours
Difficulty Level:
Mechanical expertise or professional installation required.
What's in the Box