 FREE 1 to 3-Day Delivery on Orders $149+ Details
How to Install Amp Research BedStep2 on your Sierra

Shop Parts in this Guide
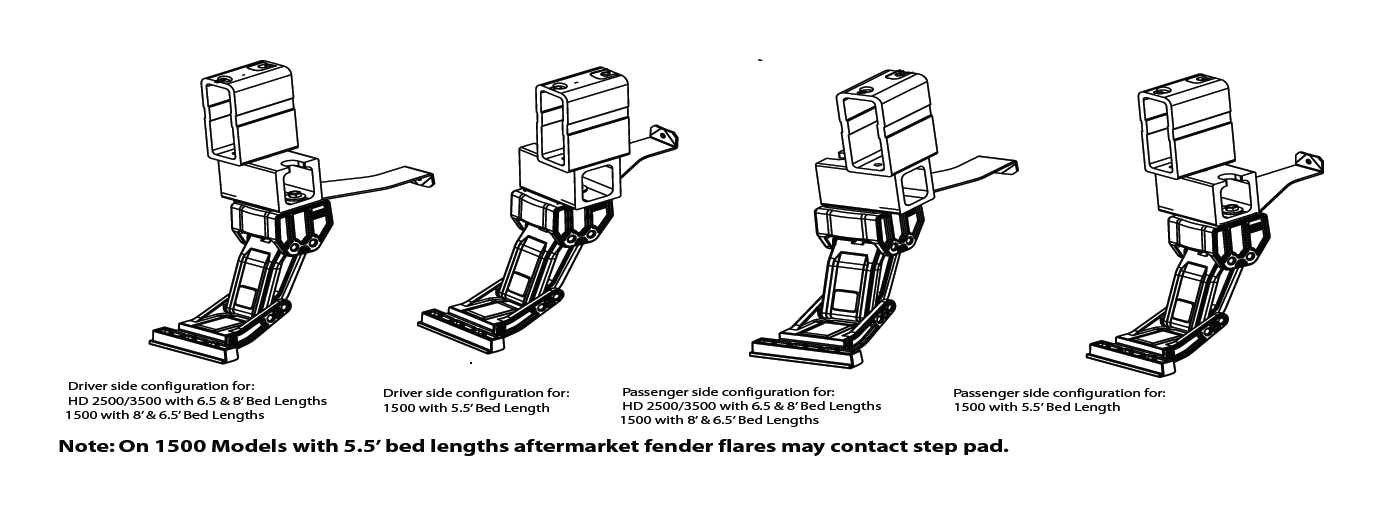
Brackets must be configured as shown. Note: Driver Side shown, Mirror for Passenger side.
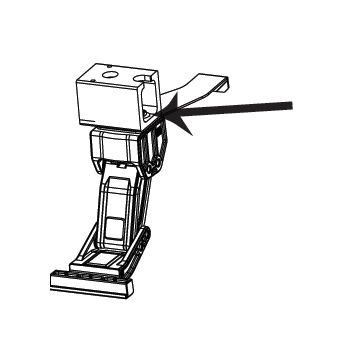
Using a 15mm Socket assemble Lateral mount onto Linkage assembly. Steel bracket is to be assembled between linkage and lateral mount. Do not tighten bolts yet. See step 1 for bracket orientation based on chassis and bed length.
NOTE: DRIVER SIDE SHOWN. MIRROR FOR PASSENGER SIDE.
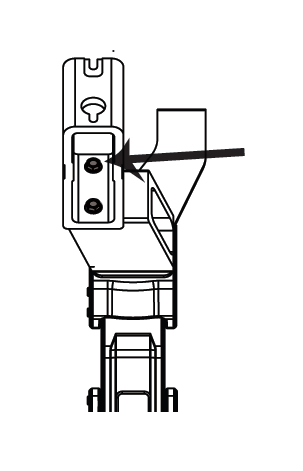
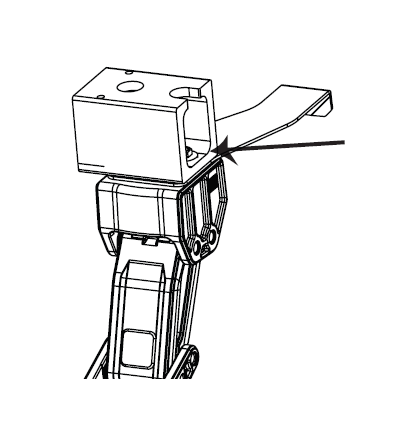
Using a 13mm Socket assemble Frame mount onto Lateral mount.Torque bolts to 16 ft-lbs.
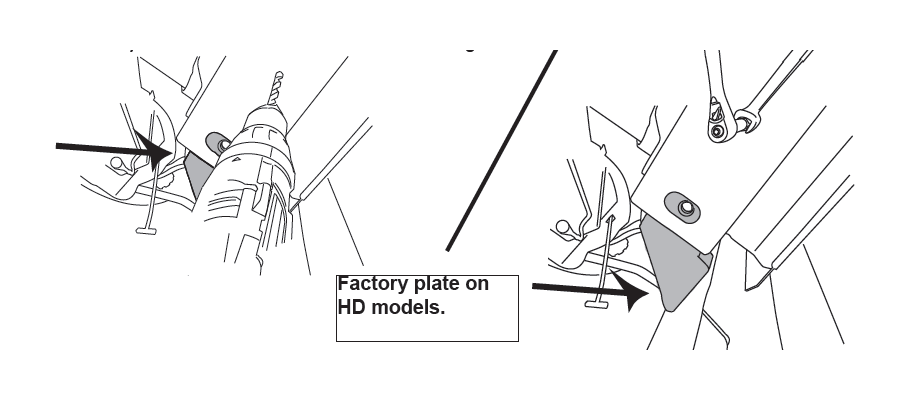
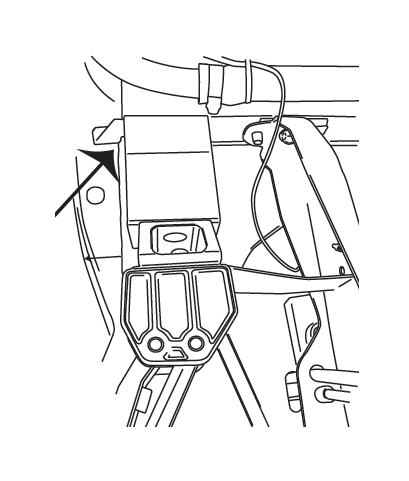
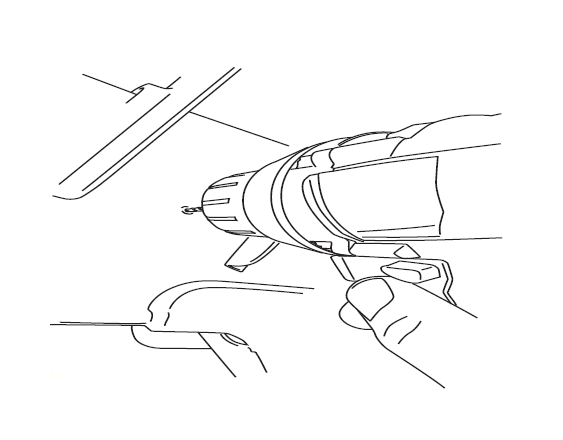
On 2011 and newer HD model trucks remove 8mm bolt from bed channel. Using supplied template mark the hole for the inner bolt on the front bed channel. Pre drill using a 1/4” drill bit then drill to a 17/32”. Install rivet nut in drilled hole. With Rivet Nut Tool held in place with 19mm wrench, tighten Hex Bolt until Rivet Nut deforms and secures itself to the sheet metal (20 ft-Lbs. or 4 turns). Remove Hex Bolt and Rivet Nut Tool. Start provided bolt into factory bracket. If plate is not present use provided threaded plate to attach linkage assembly to bed channel. (P/N 16- 03835-90) Next start bolt into rivet nut . Do not tighten!
WARNING: Rivet Nuts not properly collapsed will not hold securely to sheet metal.
Slide linkage assembly into slot and slide into position. Tighten bolt using a 13mm and torque to 16ft-lbs.
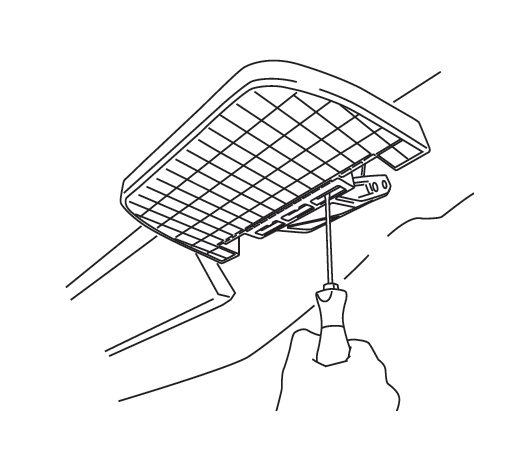
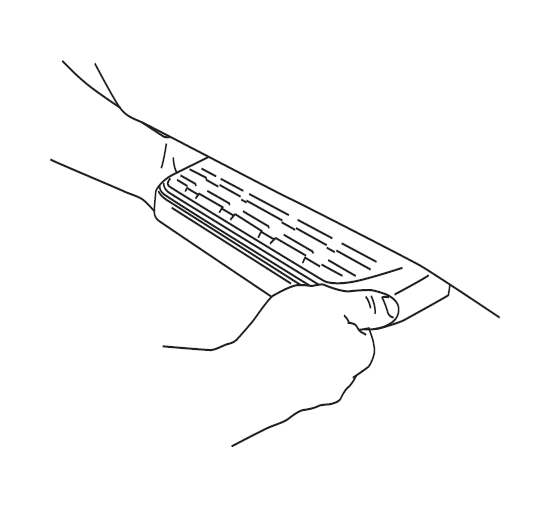
Locate the step pad on the center position of the lower linkage assembly and secure using provided PT Screws. Tighten to 5 ft-lbs using T25 torx bit.
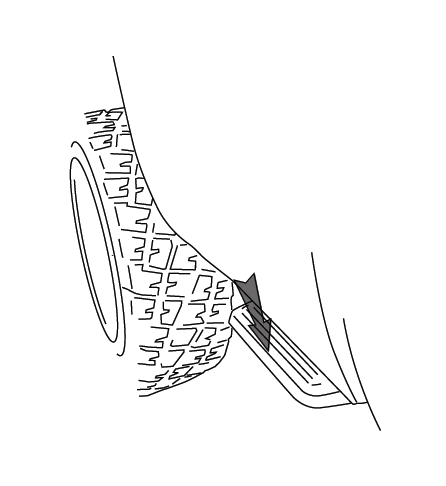
Adjust step pad to be in line with fender.
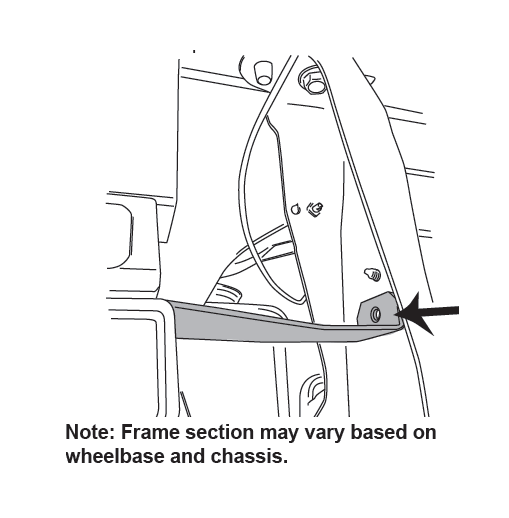
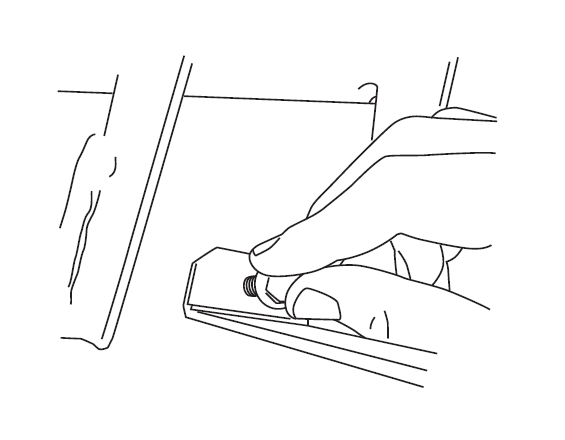
Slide steel bracket up to frame and mark hole location to be drilled.
Note: Frame section may vary based on wheelbase and chassis.
Remove Linkage assembly and center punch hole.
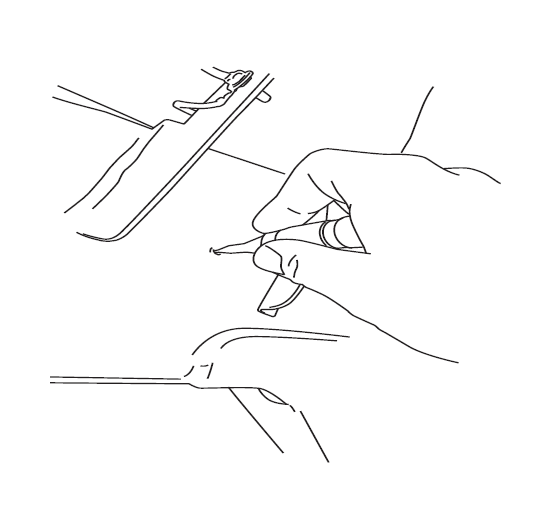
Pre drill hole using a 1/4” Drill bit. Next drill hole to 17/32”. WARNING: Fuel tank on back side of frame rail. Do NOT drill through second wall of boxed frame rail.
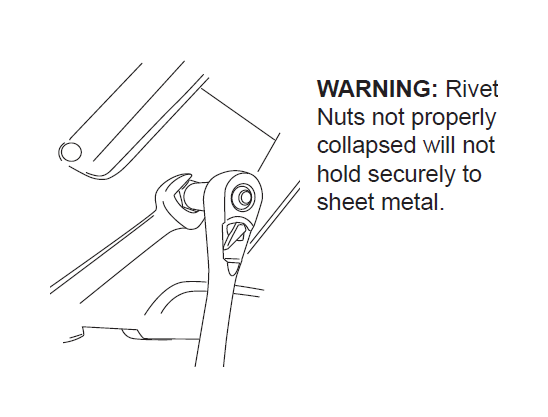
With Rivet Nut Tool held in place with 19mm wrench, tighten Hex Bolt until Rivet Nut deforms and secures itself to the sheet metal (20 ft-Lbs. or 4 turns). Remove Hex Bolt and Rivet Nut Tool.
WARNING: Rivet Nuts not properly collapsed will not hold securely to sheet metal.
Assemble linkage into place and tighten with 13mm socket (Torque to 16 ft-lbs). Next install bolt on bracket and tighten using a 13mm socket (Torque to 16 ft-lbs).
Adjust step pad to be in line with fender.
Tighten bolts using a 15mm socket or wrench. Torque to 20 ft-lbs.
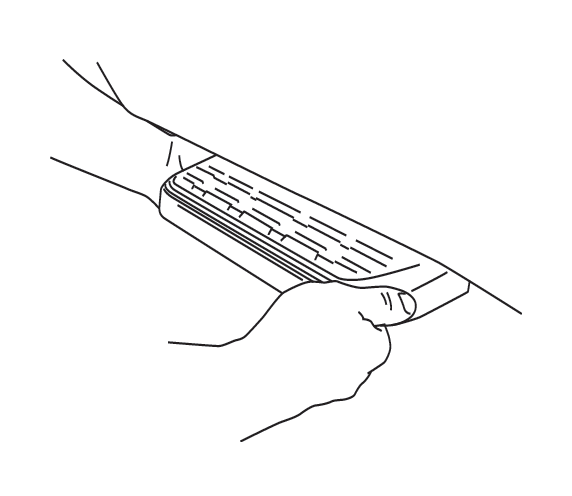
To deploy the step, press down using your foot on the outside edge of the step pad.
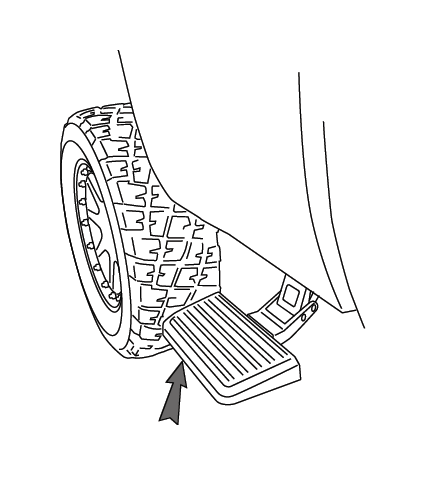
To retract, gently kick up on the underside of the step pad.


