FREE 1 to 3-Day Delivery on Orders $149+ Details
How to Install Putco Element Chrome Window Visors - Front & Rear (15-17 SuperCrew) on your Ford F-150

Shop Parts in this Guide
Installation
1. Lower front windows into the down position. The key will need to be in the accessory position.
2. Determine which visor corresponds with the Driver and Passengers side doors. Start on either side of the vehicle as the same steps are repeated for the other side.
3. Insert the top flange into the weather stripping channel from the outside of the vehicle.
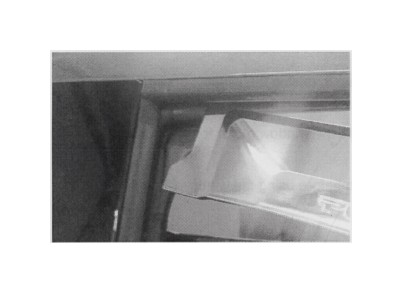
4. Slide the visor towards the rear of the vehicle so that rear tab is in the channel.
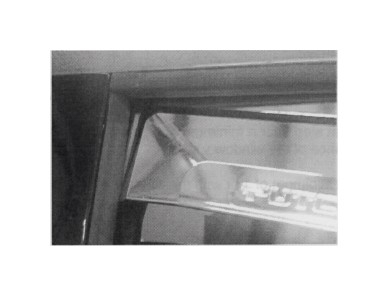
5. Work the upper flange into the weather stripping channel down the length of visor as shown below.
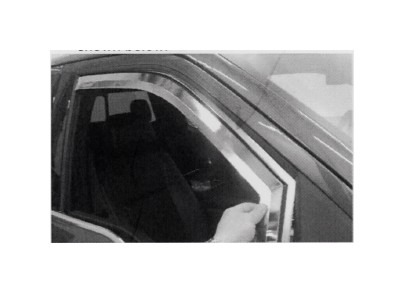
6. Lift up and push back from the front end of the window visor moving up and over the window trim.
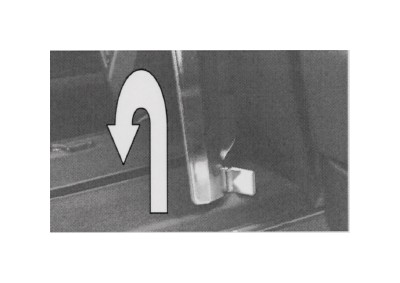
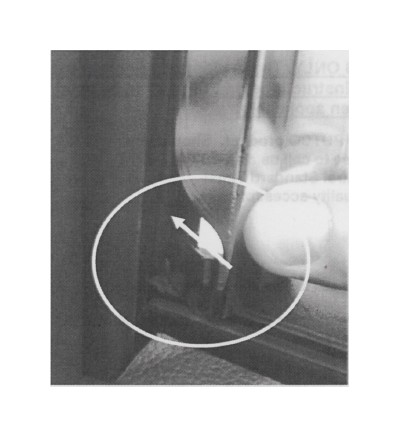
7 The hook slides in-between the mirror and the weather stripping sitting on top of the rubber window trim for support. Firmly press the hook into place.
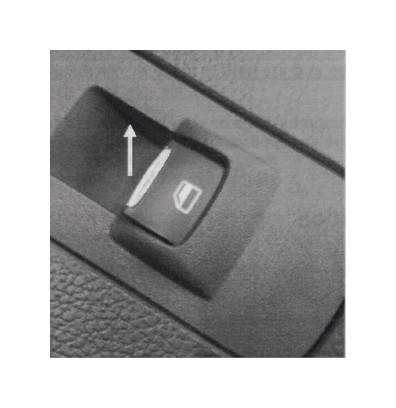
8. With the visor installed and seated in the window track, roll up the window carefully in manual mode. This is done by slowly lifting up the button half way in short succession. Raise the window until it is all the way up.
9. Lower the window and inch (manual mode) and repeat step 8, raising the window until it is fully seated.
10. Repeat step 9 for a minimum of 5 times. This will calibrate the window motor for the increased resistance of the window visors.
11. Wait a minimum of 1 hr with the window in the up position before using the windows in auto mode.