


Installation Time
(approx) 2 Hours
Difficulty Level:
Light to Moderate mechanical skill required.
Installation Guides
 FREE 1 to 3-Day Delivery on Orders $149+ Details

$255.36 - $377.25
CONFIRM THIS FITS YOUR VEHICLE!
Saved - View your saved items
We're sorry. We couldn't save this product at this time.
or use
PowerStop Performance Rear 5-Lug Brake Calipers; Red (02-18 RAM 1500, Excluding SRT-10 & Mega Cab)
 22
22
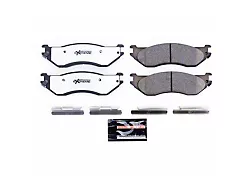
PowerStop Z36 Extreme Truck and Tow Carbon-Fiber Ceramic Brake Pads; Front Pair (06-18 RAM 1500, Excluding SRT-10 & Mega Cab)
158
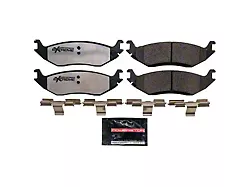
PowerStop Z36 Extreme Truck and Tow Carbon-Fiber Ceramic Brake Pads; Rear Pair (02-18 RAM 1500, Excluding SRT-10 & Mega Cab)
158
Features, Description, Reviews, Q&A, Specs & Installation
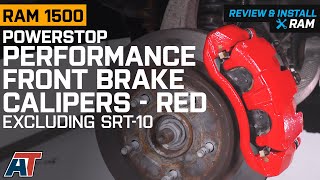
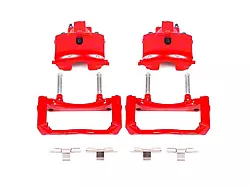
Sleek and Functional. The PowerStop Performance Front Brake Calipers – Red directly replace factory calipers. These calipers are the perfect fusion of form and function for the custom or stock wheels on your Dodge RAM 1500.
Quality Construction. These calipers feature pins, clips, and bleeder screws that are made with stainless steel. They have a corrosion resistant, heat-treated red powder coating. The EPDM high temperature rubber ensures longer life. The high caliber silicone lubricant enables a smoother operation. Leaks are averted through the intense pressure testing process.
Simple Installation. You can easily complete the installation process for these direct fit replacement calipers with basic hand tools and moderate mechanical expertise. An installation guide is available on the PowerStop website.
Application. The PowerStop Performance Front Brake Calipers – Red have been designed to fit all 2002-2018 Dodge RAM 1500 models, excluding SRT-10. Premium abutment clips are included where applicable.
Information on PowerStop's proper Break-In Procedure can be found here: https://www.powerstop.com/brake-pad-break-in-procedure/
PowerStop S4832
S5008
S4890
S5054
CA Residents:  WARNING: Cancer and Reproductive Harm - www.P65Warnings.ca.gov
Installation Info
Installation Time
(approx) 2 Hours
Difficulty Level:
Light to Moderate mechanical skill required.
Installation Guides
What's in the Box
