 FREE 1 to 3-Day Delivery on Orders $149+ Details
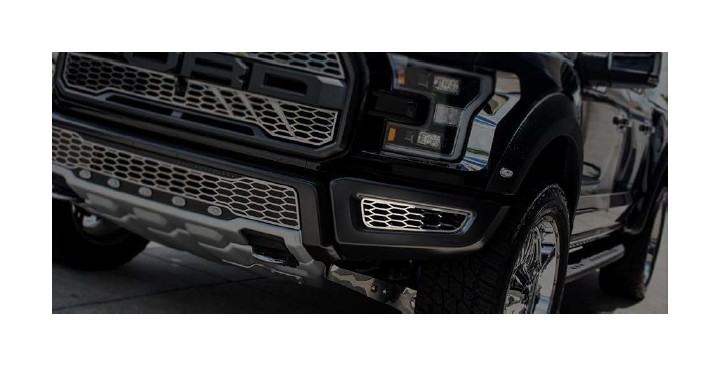
How to Install ACC Polished Front Lower Bumper Lead Grilles (2017 Raptor) on your Ford F-150

Shop Parts in this Guide
Includes:
2-Bumper Leaf Grilles
1-Adhesive Promoter Pack
Note: It is important to understand that almost all stainless-steel peel and stick accessories need to be pre-shaped by hand to achieve a nice long term installation. We realize that all parts are different from each other but as far as the installations of these parts they all will need to follow the same set of general instructions.
Liner Info: Your new accessories will come to you with a protective surface liner. Leave this liner in place until the installation is complete to prevent fingerprints and or possible scratches during installation. This liner is required to remain on the part until you are instructed to remove it.
1. The first thing that needs to be done in any peel and stick application is surface preparation. It is important that you examine the surface to determine if any kind of special treatments have ever been used. Such as wax/silicone treatments and/or polymer surface preps. Take a strip of masking tape and press it very firmly to make it adhere to the surface. Then peel it off to see how difficult it is to remove. If your masking tape is removed extremely easy and/or does not stick at all then you will need to perform a special surface preparation. In most cases like this, you will need to make a solution of a straight detergent (Johnson’s Baby Shampoo or Palmolive Dish Soap) and water. Mix a 32oz bottle with about five tablespoons of soap detergent. Once you have the solution made wash the surface scrubbing quite vigorously to remove any surface contaminants. When this is done, you can proceed to the regular preparation. This is done by scrubbing the surface with alcohol and wiping it dry. At this point, you will need to test the surface again to see if you have achieved a tack. Apply a new strip of masking tape to the surface. If it adheres you have done a good job, if it doesn’t then you must perform the wash again and again if necessary until you have achieved a nice tack. Once a tack has been achieved swipe the entire surface to be mounted with the adhesive promoter you will receive with any of our stainless-steel kits. This promoter is not a cleaner but an adhesive accelerator, when used on a nice clean and well-prepared surface this chemical, will create a very reliable bondable surface.
2. Now that all preparations have been made the next step will be to apply the accessory. In almost all cases it will be very necessary to pre-shape the stainless part so that it conforms to the surface you are mounting it to, perfectly. This is done by gently shaping the part by hand a little at a time so that when the part is placed in position it matches the surface without having to apply pressure anywhere on the part to make it fit the shape of the surface. In other words, it will look like it has been installed perfectly, before you peel and stick it. If you take your time when forming the part, you will never have any problems with the part popping off in the future.
3. Now that you have a good surface prep and your part or parts have been hand shaped to match the surface you can peel the red release liner from the back of the part. Keep in mind that the adhesive is very aggressive and it will not allow you to reposition it once it has contacted the surface. So, go slow and sure. Once all hole and the perimeters are lined up, set the part in place pressing firmly along the entire surface to bond the part and then remove the protective liner. The bond will become permanent after twenty-four hours.


