Why Every Truck Needs a Windshield Sun Shade
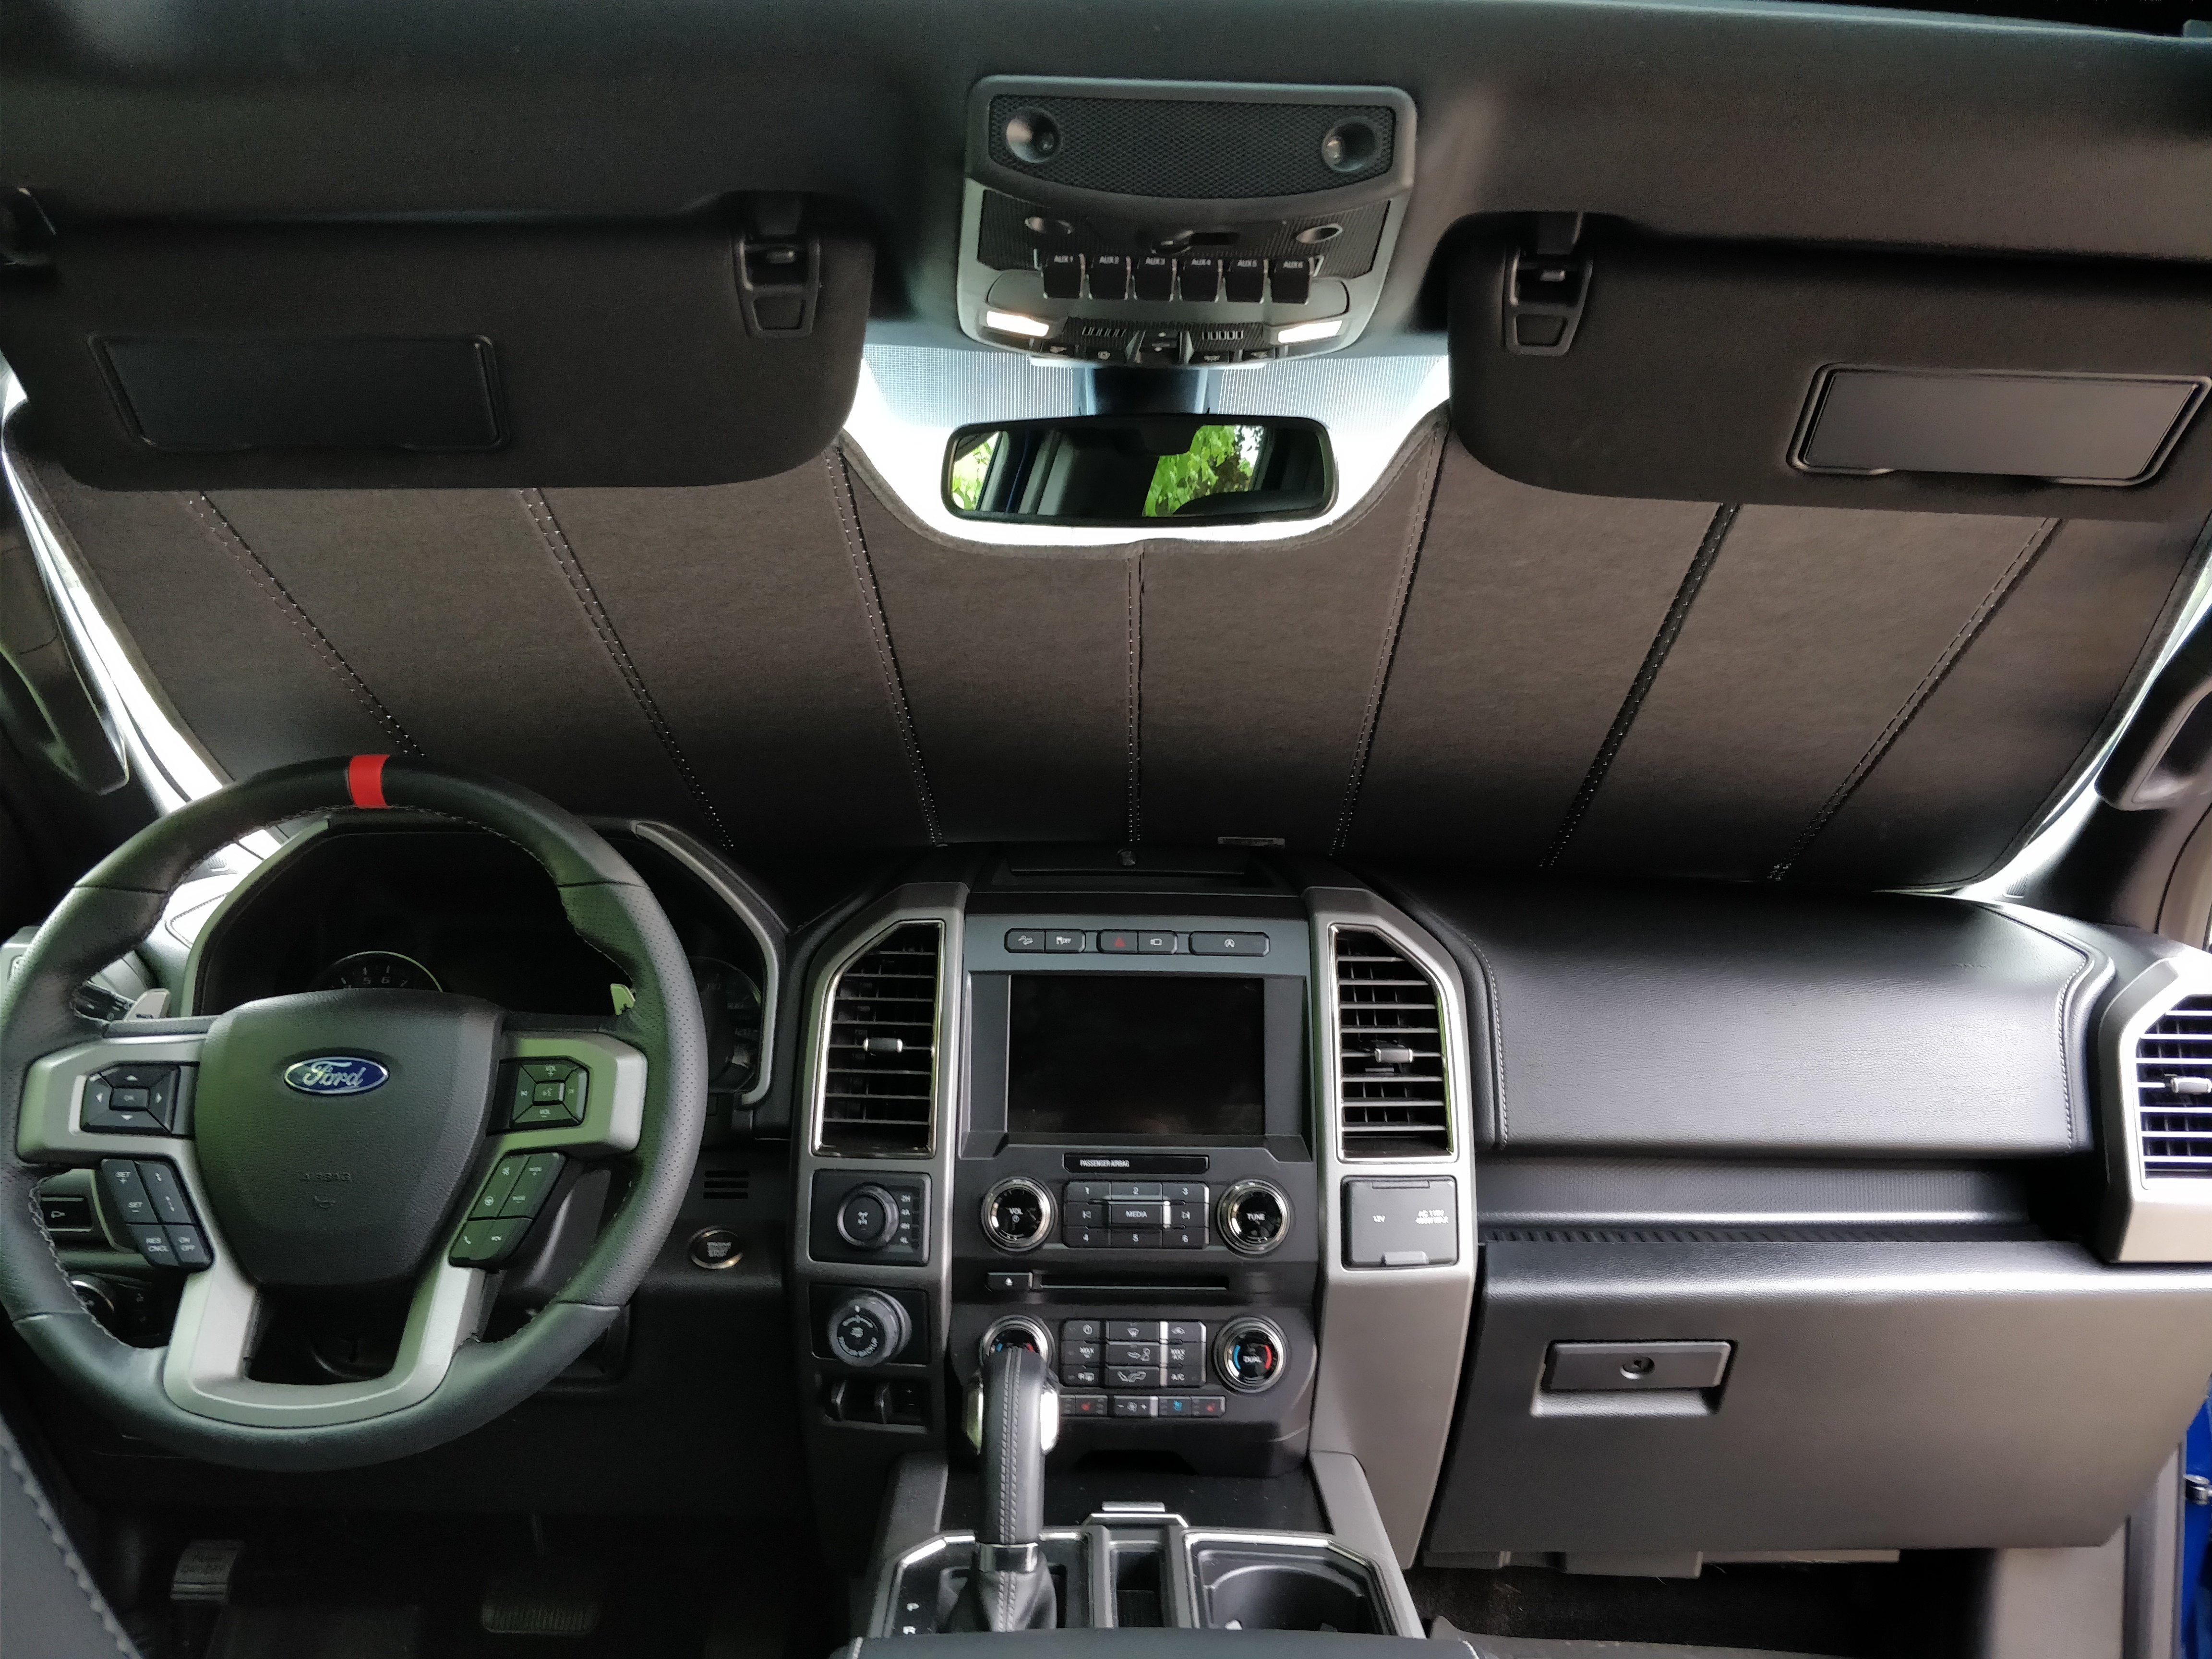
![]() Yes, windshield sun shades really work — and the difference is significant. A quality sun shade reflects solar energy away from your cab before it turns into trapped heat, reducing interior temperatures by up to 40 degrees Fahrenheit on a hot day. They also block up to 99% of UV rays, which are the main cause of dashboard cracking, steering wheel degradation, and seat fading. If you park outside regularly, a sun shade is one of the simplest and most cost-effective ways to protect your truck's interior.
Yes, windshield sun shades really work — and the difference is significant. A quality sun shade reflects solar energy away from your cab before it turns into trapped heat, reducing interior temperatures by up to 40 degrees Fahrenheit on a hot day. They also block up to 99% of UV rays, which are the main cause of dashboard cracking, steering wheel degradation, and seat fading. If you park outside regularly, a sun shade is one of the simplest and most cost-effective ways to protect your truck's interior.
Trucks are especially vulnerable to sun damage because of their large windshields. That broad expanse of glass acts like a greenhouse, letting in more solar radiation than a sedan or coupe. Over a few summers of unprotected parking, you'll start seeing the results — a warped dash, faded leather or cloth seats, and a steering wheel that's too hot to touch.
UV Damage to Interior Surfaces
Ultraviolet radiation doesn't just heat your cab — it breaks down materials at the molecular level. Your dashboard's vinyl or plastic compounds become brittle and crack. Leather seats dry out and split. Even cloth upholstery loses its color. A sun shade creates a barrier that keeps the worst of that radiation off your interior surfaces, extending the life of your dash, seats, and trim.
Heat Reduction and Comfort
Without a sun shade, your truck's cabin can reach well over 150 degrees Fahrenheit on a summer day. With a reflective sun shade in place, you can knock that number down substantially. That means less time blasting your A/C to bring the cab back to a comfortable temperature, less strain on your climate control system, and a truck that's actually pleasant to climb into after work.
Protecting Electronics and Leather
Modern trucks carry a lot of tech — touchscreen infotainment systems, dash cameras, phone mounts, and radar detectors. Prolonged heat exposure can damage LCD screens, drain batteries, and warp plastic housings. Leather-wrapped steering wheels and shift knobs are also at risk. A sun shade keeps surface temperatures lower, so your electronics and premium materials last longer.
For more ways to keep your truck cool and protected during the summer months, check out our guide on ways to protect your truck from the summer sun. You can also browse our full selection of truck sun shades and windshield tint to find the right fit for your ride.
Types of Windshield Sun Shades
When it comes to blocking the sun from your truck's windshield, you've got several options. Each type offers a different balance of fit, convenience, and price. The best choice depends on how you use your truck, where you park, and how much you want to spend. Here's a breakdown of the main styles you'll find on the market.
Foldable Sun Shades
Foldable sun shades are the most common and budget-friendly option. They're typically made from a reflective mylar or metallic material bonded to a foam or cardboard backing. You unfold them, press them against the inside of your windshield, and flip your visors down to hold them in place. When you're done, they fold down into a compact shape for storage behind your seat or in your back seat area.
- Best for: Budget-conscious truck owners who want basic UV and heat protection without a big investment.
- Pros: Affordable, widely available in custom-fit sizes, lightweight, and easy to store.
- Cons: Can feel flimsy compared to premium options; universal sizes may not cover your entire windshield.
- Popular example: Covercraft UVS100 series — available in custom-fit sizes for most truck models.
Roll-Up Sun Shades
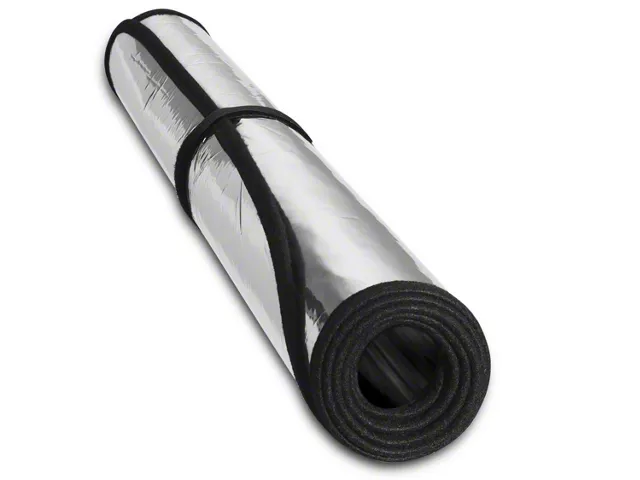
Roll-up sun shades use a denser foam core with a reflective outer layer, giving them a more rigid, precise fit against your windshield. They roll into a tight cylinder for storage, which makes them easier to stash in your truck than a foldable shade. The foam core also provides better insulation, keeping more heat out of your cab.
- Best for: Owners who want a premium fit and better heat insulation than a standard foldable shade.
- Pros: Superior insulation thanks to the foam core, rolls up compactly, holds its shape well over time.
- Cons: Higher price point; can be heavier than basic foldable options.
- Popular examples: WeatherTech TechShade and Intro-Tech Ultimate Reflector — both offer vehicle-specific sizing.
Accordion (Retractable) Sun Shades
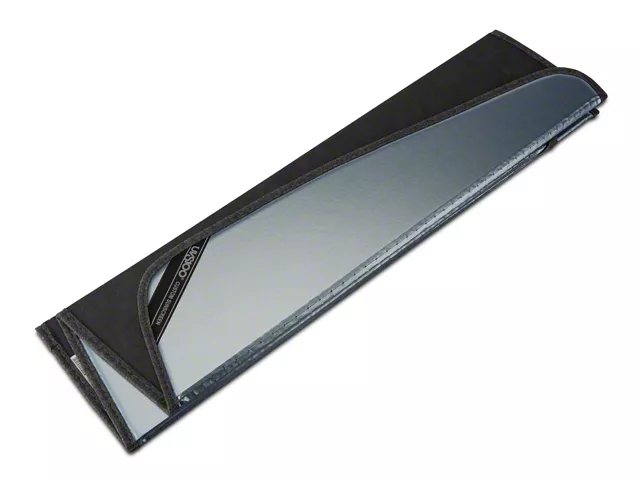
Accordion-style sun shades fold in a zigzag pattern and often mount semi-permanently to your windshield using suction cups or clips along the top edge. When you need the shade, you pull it across the windshield; when you don't, it collapses to one side. This design is great if you're constantly moving between shaded and exposed parking because you don't have to fully remove and store the shade each time.
- Best for: Daily drivers who park in the sun frequently and want a fast deploy-and-stow solution.
- Pros: Quick to extend and retract, stays attached to the windshield so you won't forget it, clean look when collapsed.
- Cons: Suction cups can lose grip over time in extreme heat; limited brand options for truck-specific fitments.
- Popular example: Dash Designs retractable sun shades — available in custom sizes for many truck windshields.
Umbrella-Style Sun Shades
Umbrella-style sun shades are a newer design that works exactly like it sounds — you open it like an umbrella inside your cab and press it against the windshield. The spring-loaded frame holds it in place. These are compact enough to fit in a door pocket or center console when folded, making them the most portable option.
- Best for: Truck owners who value compact storage and a quick setup.
- Pros: Extremely portable, sets up in seconds, no folding or rolling required.
- Cons: Typically universal-fit only, so coverage on larger truck windshields can be incomplete; durability of the spring mechanism varies by brand.
Custom-Fit vs. Universal Windshield Sun Shades
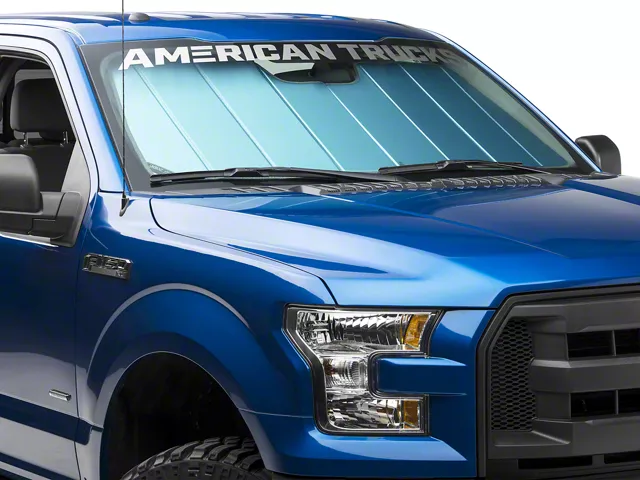
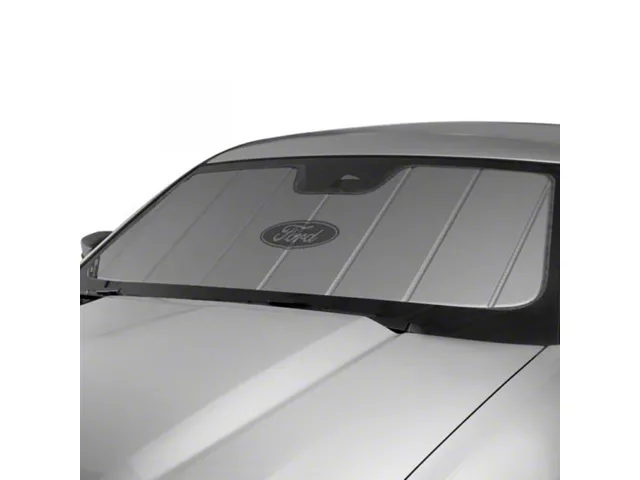
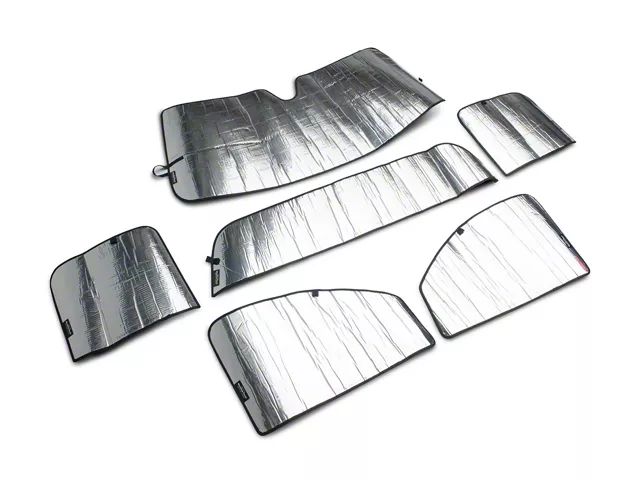
![]() Custom-fit sun shades are designed using the exact dimensions of your truck's windshield, including curves, sensor cutouts, and mirror mounts. Universal shades come in standard sizes (small, medium, large, jumbo) and are meant to work across a range of vehicles. For trucks, the difference between these two options is more noticeable than it is for smaller vehicles — and here's why.
Custom-fit sun shades are designed using the exact dimensions of your truck's windshield, including curves, sensor cutouts, and mirror mounts. Universal shades come in standard sizes (small, medium, large, jumbo) and are meant to work across a range of vehicles. For trucks, the difference between these two options is more noticeable than it is for smaller vehicles — and here's why.
Truck windshields are significantly larger than passenger car windshields. A universal shade that covers a sedan's glass just fine may leave several inches of exposed glass on an F-250 or Silverado 2500. Those gaps let UV rays and heat in, reducing the shade's effectiveness. A custom-fit shade fills the entire windshield opening, leaving no gaps along the edges or corners.
|
Feature
|
Custom-Fit
|
Universal
|
|
Windshield Coverage
|
Full edge-to-edge, matches curves and cutouts
|
Approximate — may leave gaps on larger windshields
|
|
Price Range
|
$40–$90
|
$10–$30
|
|
UV Blocking
|
Up to 99% across entire windshield
|
Up to 99% where coverage exists — gaps reduce overall protection
|
|
Storage
|
Larger when folded; designed for specific vehicle dimensions
|
Often more compact; standard folding sizes
|
|
Fit Stability
|
Stays in place with minimal support — visor hold is usually enough
|
May shift, sag, or fall without additional securing
|
|
Best For
|
Trucks with large or uniquely shaped windshields
|
Budget buyers or temporary use
|
If you're on the fence, a custom-fit shade is almost always the better investment for a truck. The extra cost pays for itself in better protection and a cleaner look behind the glass. For a deeper dive into the differences between sun shades and full windshield covers, check out our comparison of windshield covers vs. car sun shades.
Best Windshield Sun Shade Brands for Trucks
Not all sun shades are created equal. The brands that specialize in vehicle-specific fitments tend to deliver better coverage, more durable materials, and longer-lasting reflective coatings. Here are the top names we recommend for truck owners.
Covercraft
Covercraft's UVS100 series is one of the most popular custom-fit sun shades on the market, and for good reason. Each shade is precision-cut for a specific year, make, and model using the exact windshield dimensions. The UVS100 uses a triple-laminate reflective material that blocks UV rays and reduces heat effectively. It folds down and comes with a storage pouch.
- Best for custom fit: Covercraft offers one of the widest vehicle-specific catalogs, covering most popular truck models across multiple model years.
- Standout feature: Precision-cut patterns mean no trimming or adjusting — it fits right out of the package.
WeatherTech
WeatherTech's TechShade line uses a foam-core construction that provides both UV reflection and thermal insulation. The foam layer adds rigidity, so the shade holds its shape against the windshield without sagging. It rolls up for storage instead of folding, which means no crease marks that can reduce reflectivity over time.
- Best premium option: The foam-core design delivers superior heat rejection compared to standard reflective shades.
- Standout feature: Roll-up design eliminates fold creases and stores cleanly in tight spaces.
Intro-Tech
Intro-Tech's Ultimate Reflector uses a multi-layered reflective surface bonded to a non-abrasive backing that won't scratch your windshield or dashboard. Like Covercraft, Intro-Tech offers custom-fit sizing for a wide range of trucks. Their shades are known for durability — the reflective coating holds up well over multiple seasons of use.
- Best for durability: The multi-layer reflective surface resists peeling and degradation longer than single-layer alternatives.
- Standout feature: Non-abrasive backing protects your dash and windshield tint from scratches.
Dash Designs
Dash Designs focuses on retractable and accordion-style sun shades, which appeal to truck owners who want a semi-permanent solution. Their shades attach to the top of the windshield and extend or retract as needed. This design is ideal if you're tired of folding and unfolding a shade multiple times a day.
- Best for convenience: The retractable design means you never have to take the shade out of your truck or store it somewhere.
- Standout feature: Quick deploy — pull it across and go. No unfolding, unrolling, or positioning needed.
For F-150-specific recommendations, check out our best Ford F-150 sun shades guide.
Windshield Sun Shades by Truck Model
Every truck has a different windshield size and shape, which is why vehicle-specific fitment matters. Here's what you need to know about sun shade sizing for the most popular truck platforms.
Ford F-150 and Super Duty
The F-150's windshield dimensions change between generations, so a shade that fits a 2015–2020 model won't necessarily fit a 2021+ truck. Super Duty models (F-250, F-350) have wider windshields than the F-150, requiring their own specific fitments. Always match the shade to your exact year and model. Browse our full collection of Ford truck sun shields to find the right fit.
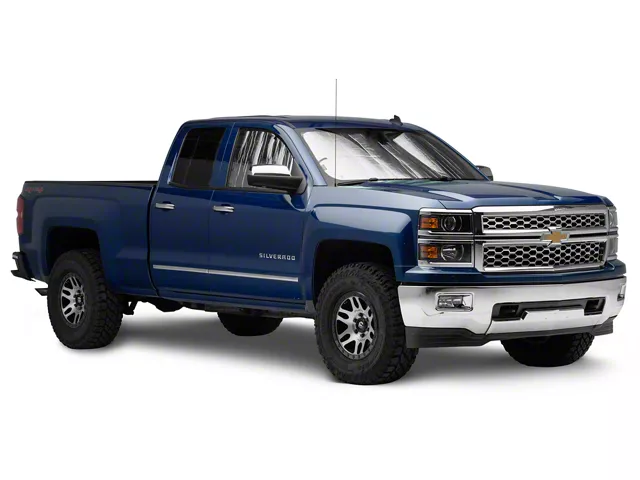
Chevy Silverado and GMC Sierra
The Silverado 1500 and Sierra 1500 share the same windshield dimensions within the same generation, so a sun shade that fits one will generally fit the other. However, the HD models (2500 and 3500) use a different windshield size, so make sure you're selecting the correct fitment. Check out our Silverado sun shields collection for model-matched options.
RAM 1500, 2500, and 3500
RAM trucks went through a significant redesign with the 2019 model year, which changed the windshield dimensions. If you're shopping for a sun shade, pay close attention to whether the product listing specifies "Classic" (2009–2018 body style) or the current-gen (2019+) body. The 2500 and 3500 HD models also have their own windshield sizes that differ from the half-ton.
GMC Canyon
The Canyon's windshield is noticeably smaller than full-size truck glass, so a universal "truck" sun shade will almost certainly be too large. Custom-fit is the way to go here. Browse Canyon sun shades for options matched to your specific year.
How to Install a Windshield Sun Shade
Installing a windshield sun shade is straightforward regardless of which type you choose. The process takes less than a minute once you've done it a couple of times. Here's how to set up each style.
Installing a Foldable Sun Shade
- Unfold the shade and hold it up to your windshield to orient it correctly. Most shades have a top and bottom edge — the top edge is usually wider to match the curve of the windshield near the roofline.
- Place the reflective side facing outward (toward the outside of the truck). This directs solar energy away from the cab.
- Press the shade against the glass starting from the top. Work it into the corners and along the edges for maximum coverage.
- Flip your visors down to hold the top edge of the shade in place. This keeps it from sliding down or folding forward.
- Adjust for full coverage. Make sure the shade extends as close to the edges and bottom of the windshield as possible. Tuck the bottom edge against the dashboard if it's long enough.
Installing a Roll-Up Sun Shade
- Unroll the shade completely and let the foam core flatten out for a few seconds if it's been stored tightly.
- Position the shade with the reflective side out, aligning the top edge with the top of your windshield.
- Press it firmly against the glass. The foam core's rigidity will help it stay in place against the windshield's curve.
- Lower your visors to pin the top edge. Some roll-up shades include elastic straps or clips that hook around the visors for a more secure hold.
- Check the fit. Because roll-up shades are often custom-cut, they should sit flush against the glass with minimal gaps.
Installing a Retractable (Accordion) Sun Shade
- Mount the suction cups or clips along the top of your windshield. Most retractable shades come with 3–5 suction cups that adhere to the glass. Clean the glass first so they grip properly.
- Attach the shade's mounting bar to the suction cups or clips. This is a one-time step — once mounted, the shade stays in place.
- Pull the shade across the windshield to deploy it. The accordion folds will extend smoothly from one side to the other.
- Secure the far edge with the included hook, suction cup, or clip on the opposite side of the windshield.
- To retract, unhook the far edge and let the shade fold back to its resting position on one side of the windshield.
Which Side of the Sun Shade Faces Out?
Always place the reflective (silver or metallic) side facing outward toward the sun to reflect heat away from your truck's interior. The non-reflective side — usually black, gray, or fabric-covered — faces inward toward the dashboard. This arrangement maximizes heat rejection by bouncing solar radiation back through the glass before it enters the cab. If you put the reflective side inward, it'll actually trap more heat inside by reflecting energy off the shade back into the interior.
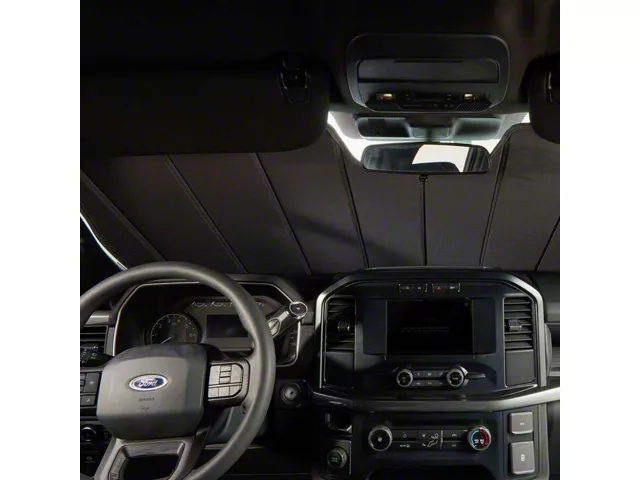
Tips for Choosing the Right Windshield Sun Shade
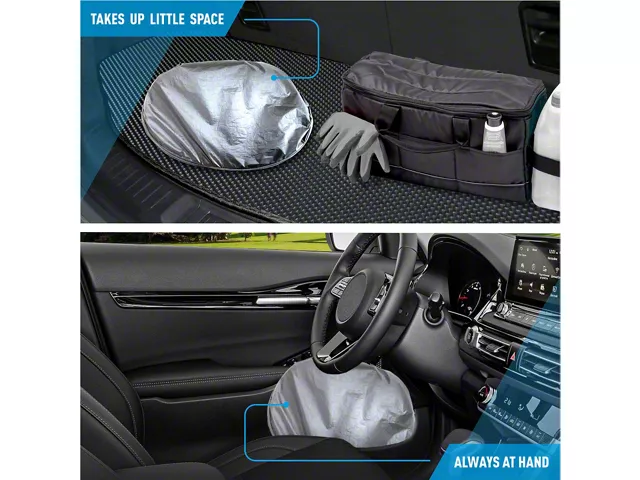
![]() With several types, sizes, and brands to choose from, here's how to narrow down the best sun shade for your truck.
With several types, sizes, and brands to choose from, here's how to narrow down the best sun shade for your truck.
Measure Your Windshield
Before you order, measure the width and height of your windshield from the interior. Compare those measurements against the sun shade's listed dimensions. Even if you're buying a custom-fit shade, it's worth confirming that the listed year, make, and model match yours exactly — especially if your truck is near a generation changeover.
Consider Your Storage Space
Foldable shades take up the most space when stored, while roll-up and umbrella styles are more compact. If you don't have room behind or under your seat, a roll-up or retractable shade might be a better fit. Retractable shades eliminate the storage question entirely since they stay mounted to the windshield.
Evaluate Material Quality
- Reflective mylar or metallic film: Standard on most budget and mid-range shades. Effective at reflecting UV and heat, but can degrade after 2–3 seasons of heavy use.
- Multi-layer reflective (triple-laminate): Used by brands like Covercraft and Intro-Tech. More durable and offers better heat rejection than single-layer mylar.
- Foam-core construction: Found in roll-up shades like WeatherTech's TechShade. Adds insulation on top of reflection, providing the best overall heat reduction.
Match Your Year, Make, and Model
This is especially important for trucks. A sun shade designed for a 2018 F-150 may not fit a 2021 F-150 due to windshield redesigns between generations. Always verify the exact year and trim compatibility before purchasing. Custom-fit shades from reputable brands will list the specific vehicles they cover — don't assume a "fits all F-150s" claim is accurate across generations.
Ready to find the right windshield sun shade for your truck? Browse our full collection of truck sun shades and windshield tint, where you can filter by your year, make, and model to find a shade that fits your windshield perfectly. Whether you're after a budget-friendly foldable shade or a premium foam-core option, we've got you covered. Sun shades are just one part of keeping your truck's interior in top shape — explore our full range of truck interior accessories for more ways to protect and upgrade your cab.
Related Articles
![]() Want to learn more about protecting your truck's interior? Check out these related guides:
Want to learn more about protecting your truck's interior? Check out these related guides:
Frequently Asked Questions About Windshield Sun Shades
Here are answers to the most common questions truck owners have about choosing, installing, and using windshield sun shades.
Do Windshield Sun Shades Really Work?
Yes, windshield sun shades significantly reduce interior temperatures and UV exposure. A quality reflective sun shade can lower your truck's cabin temperature by up to 40 degrees Fahrenheit and block up to 99% of harmful UV rays. They protect your dashboard, seats, steering wheel, and electronics from heat damage and sun-related fading and cracking.
What's the Best Windshield Sun Shade?
The best windshield sun shade depends on your priorities. For the best fit, choose a custom-fit foldable shade like the Covercraft UVS100. For maximum heat rejection, go with a foam-core roll-up shade like the WeatherTech TechShade. For daily convenience, a retractable accordion-style shade from Dash Designs lets you deploy and stow your shade in seconds without removing it from the truck.
What Can I Put on My Windshield to Block the Sun?
A reflective windshield sun shade is the most effective interior option for blocking sunlight. You place it inside the windshield with the reflective side facing out to reflect solar energy away from the cab. For additional protection, you can also apply windshield tint film that blocks UV rays while still allowing visibility, or use a full external windshield cover for maximum sun and weather protection.
What Color Is Best for a Windshield Sun Shade?
Silver or metallic sun shades are the most effective because they reflect sunlight rather than absorbing it. Black sun shades absorb heat and transfer some of it into the cabin, making them less effective at keeping temperatures down. For the best results, choose a shade with a highly reflective silver or metallic outer surface paired with a non-reflective interior backing.
Which Side of the Sun Shade Faces Out?
The reflective (silver or metallic) side should always face outward toward the sun. This arrangement reflects solar radiation away from the truck before it enters the cabin. Placing the reflective side inward would trap more heat inside by bouncing energy off the shade back into the interior rather than reflecting it through the glass.
Do I Need a Custom-Fit or Universal Sun Shade for My Truck?
Custom-fit sun shades provide significantly better coverage for trucks because truck windshields are larger than sedan windshields. A universal shade may leave gaps along the edges that allow UV rays and heat to enter. Custom-fit shades are designed using the exact windshield dimensions of your year, make, and model, providing edge-to-edge coverage and a more stable fit.
How Do I Store a Windshield Sun Shade in My Truck?
Storage depends on the shade type. Foldable shades collapse into a flat or circular shape that fits behind or under a seat. Roll-up shades compress into a tight cylinder you can stow in a side pocket or behind the seat. Umbrella-style shades fold down to a compact cylinder that fits in a door pocket or center console. Retractable shades stay mounted to the windshield, so they require no separate storage at all.
Can a Windshield Sun Shade Damage My Truck's Windshield?
No, a properly made sun shade won't damage your windshield. Most quality shades use soft, non-abrasive backing materials designed to rest against glass without scratching. However, umbrella-style shades with metal support tips can potentially scratch the dashboard if not positioned carefully. When using suction-cup-mounted shades, clean the glass before attaching to prevent trapped debris from scratching the surface.