 FREE 1 to 3-Day Delivery on Orders $149+ Details
How to Install Exhaust Headers
AT Staff
/ Jan 16 2026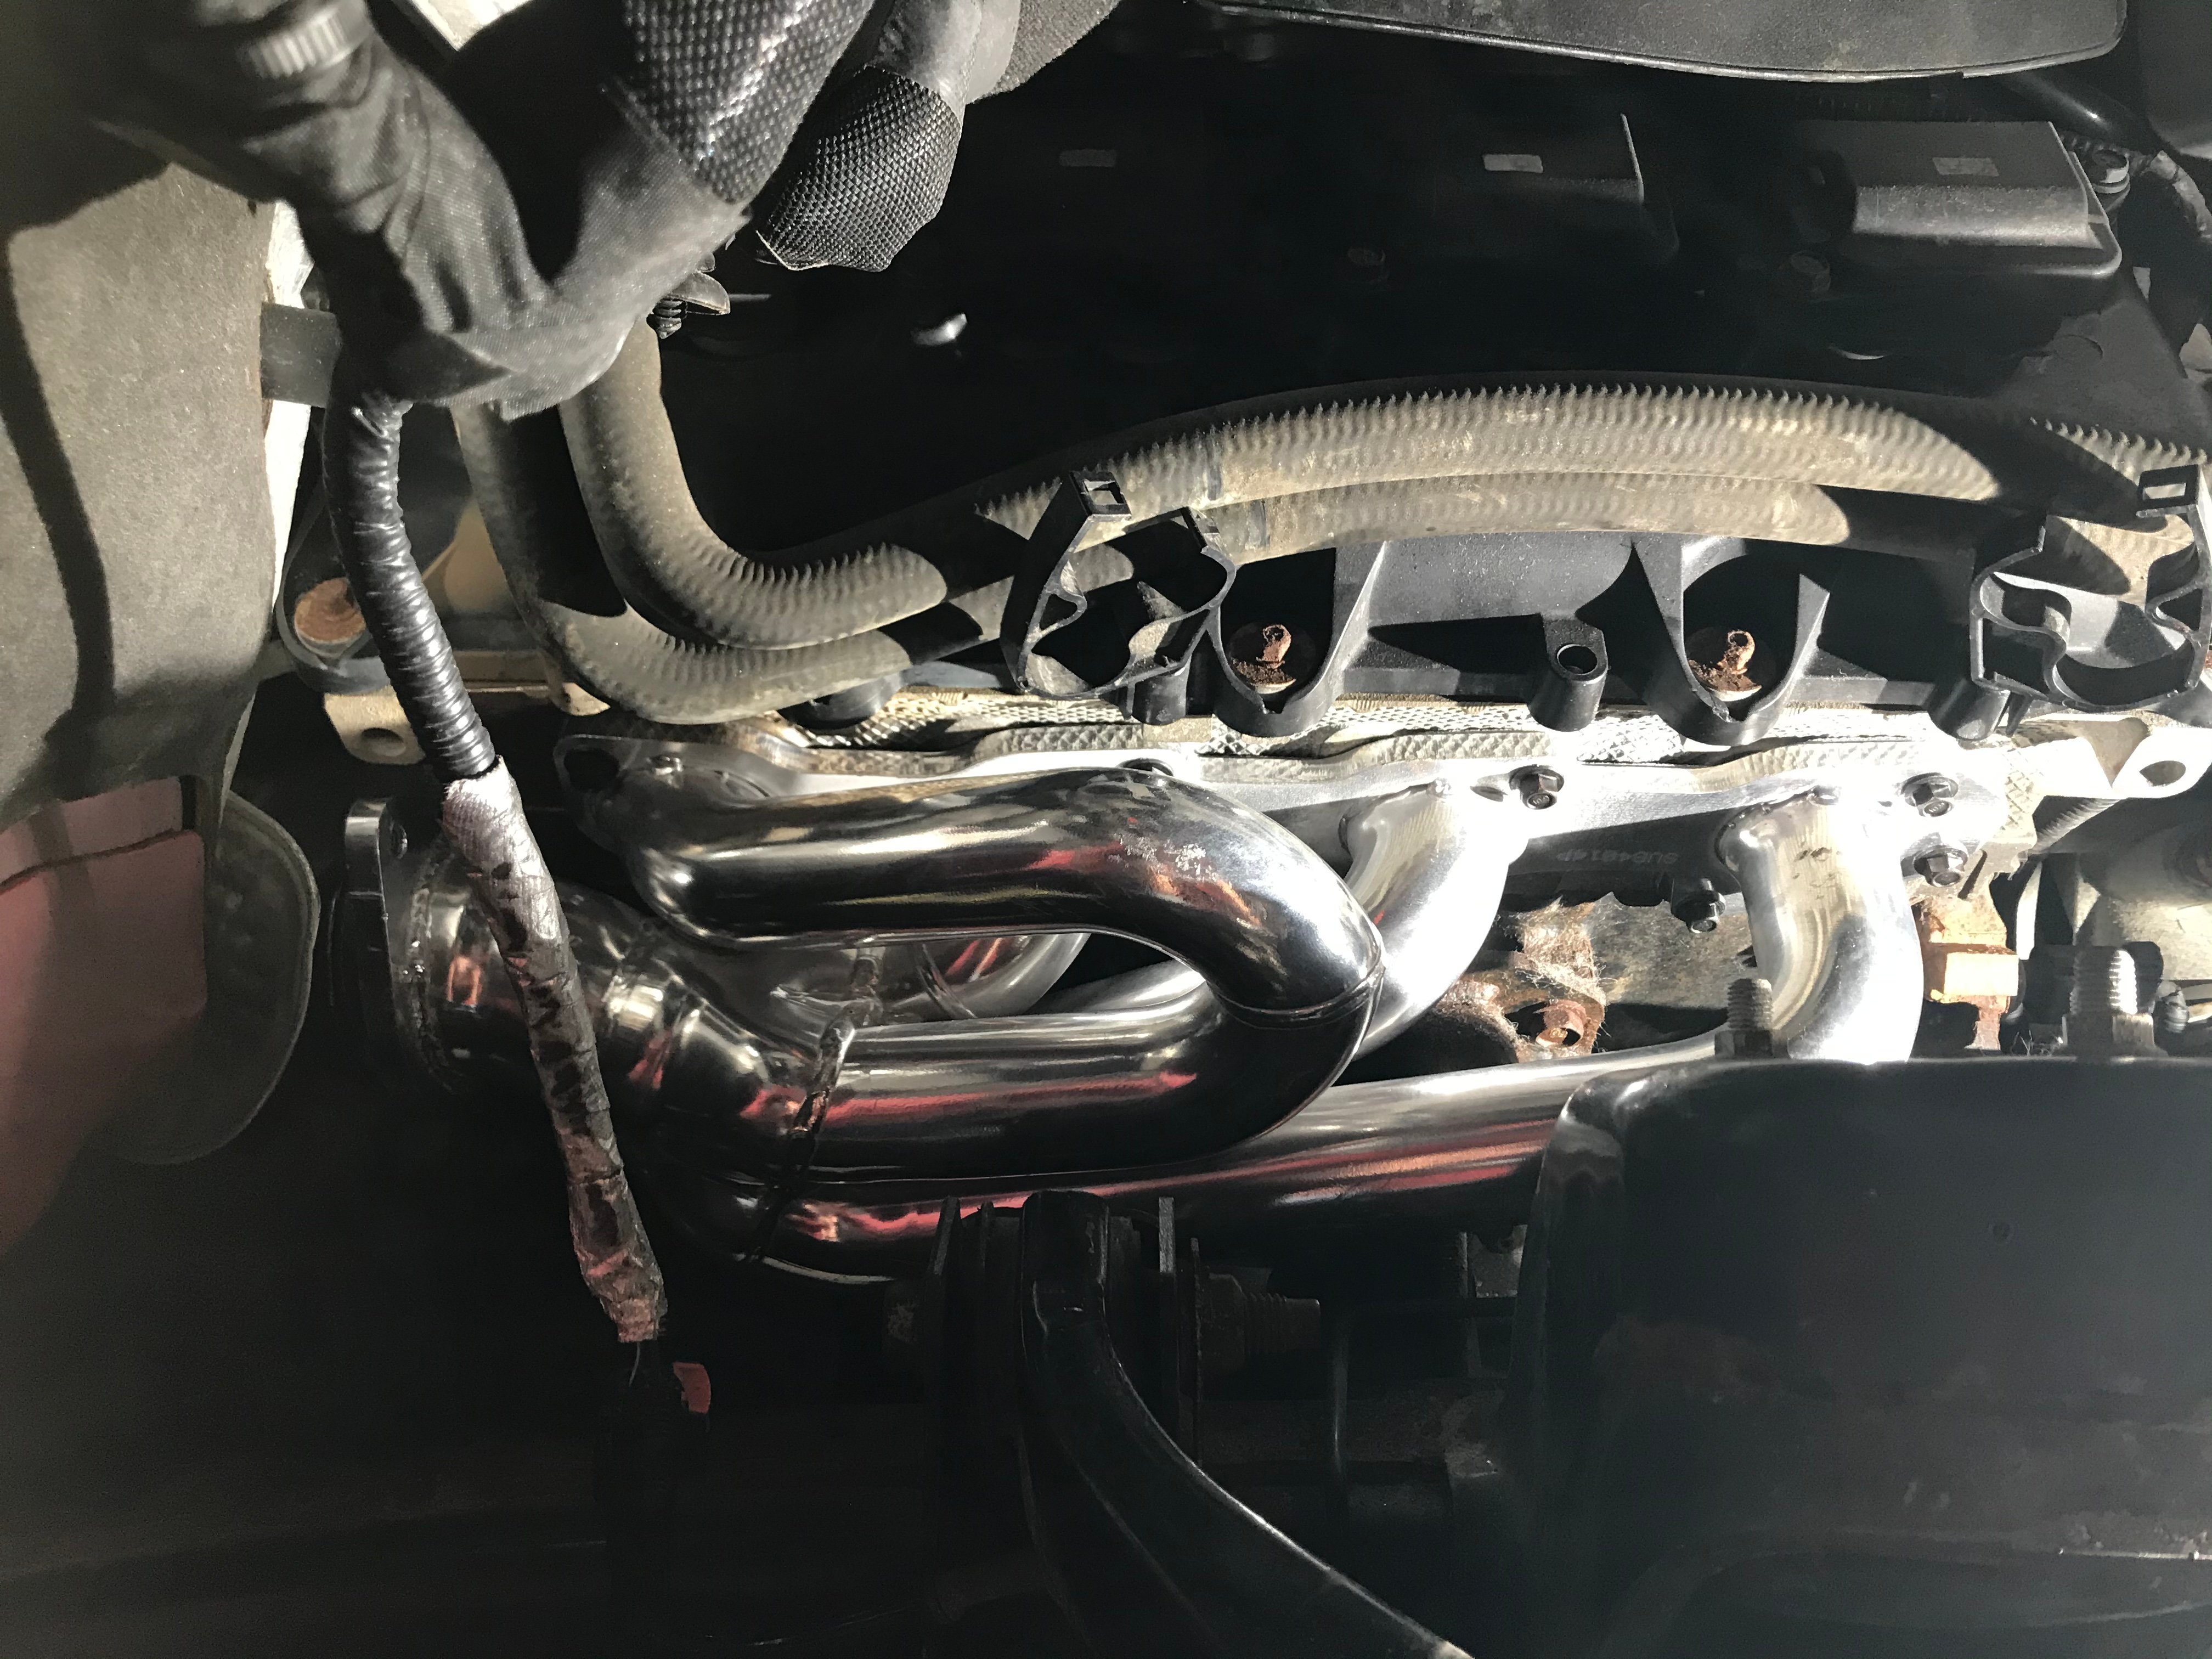
By Mike Cote - November 22, 2018
Exhaust Headers Installation
Popping in a set of floor mats is a cinch, and changing out an air filter isn’t too tricky. Swapping out clunky stock parts for a brand-new manifold or high-flow header can be a bit of a project, though. Although the process can be a bit of a knuckle buster, with the right tools, the right motivation and the right knowledge, you can get it done in an afternoon. Here’s a quick breakdown of the general steps to follow when installing performance headers.
JBA Cat4ward Headers
Exhaust Header Installation Steps
Safety comes first. Let your vehicle cool down completely before wrenching. Once the heat’s gone, jack up the vehicle and secure it with jack stands and wheel chocks. Your owner’s manual should tell you where your jack points are.
Crawl or creep under the car and disconnect the header pipes from your exhaust manifolds. If you don’t want your exhaust to hang, bring a box with you to prop it up.
While you’re still under the car, take a look to make sure there are no components blocking the exhaust manifold or connected from below.
Climb out from under your vehicle and head for the engine compartment to disconnect all sensors and tubes from the exhaust manifold.
Unbolt the manifold from your engine block, noting which bolt came from which location. You might have to spray the bolts with a penetrating fluid to cut through any accumulated crud or corrosion. If you’re reusing the factory bolts, make sure they aren’t stripped, that the tread is true and that they’re in good condition.
Once the bolts are out, lower the manifold down through the engine compartment.
With the manifold out, remove the gasket from around the exhaust port flange. Give the flange surface a thorough cleaning and install the new gasket.
Now comes the fun part: sliding the headers into position. Depending on the shape, you might be able to guide it in from above. More likely than not, you’ll have to slip it in the same way the manifold came out—from below. This is usually the point where you call a buddy for a second set of hands.
After it’s in position, loosely bolt the headers into place—keeping them loose lets you wiggle the headers around if things aren’t all lining up. Pulling the header away from the engine block can help lend clearance to start the bolts.
As soon as it’s aligned and all the bolts are threaded, tighten them down and then torque them to the specs noted in the installation instructions. When torqueing, be sure to start with the center bolts and work outwards in a spiral pattern.
Next, reconnect all the sensors and tubes that you disconnected in Step 4.
Crawl back under your vehicle and bolt your exhaust system to your new headers and make sure everything is secure underneath. Safely jack the vehicle down.
Climb in, fire it up and wake the neighbors. Your new headers are roaring to go, but keep an eye out for exhaust leaks around the connection points—and speed traps around town.
Header Installation Tips
Right after installation, you may see smoke and smell fumes coming from the new headers. Never fear—your headers are just burning off the protective oil-based coating used in the manufacturing and packing processes. Once those tubes reach normal operating temperatures, the smoke will disappear, leaving only performance in its wake.
Listen for flapping or ticking sounds or any potential indication of leaks. Sometimes it’s a good idea to heat cycle the headers a few times and revisit your install a day or two later to ensure all the fasteners are still tight and the header flange is flush with the side of the cylinder head. Heat cycling simply involves bringing the headers up to operating temperature, then back down to ambient (outside) temperatures, multiple times.
Product Comparison
JBA Cat4ward Headers
PaceSetter Headers
Gibson Exhaust Performance Header
Doug Thorley Headers
Conclusion
In conclusion, installing performance headers can be a challenging but rewarding project for your vehicle. Following the correct steps and using the right tools is essential to ensure a successful installation. Once installed, your new headers can significantly improve your vehicle's performance. Be sure to monitor for any leaks or unusual sounds after installation, and enjoy the enhanced performance of your vehicle.