 FREE 1 to 3-Day Delivery on Orders $149+ Details
How to Determine What Roof Rack You Need for Summer Hauling
AT Staff
/ Oct 13 2023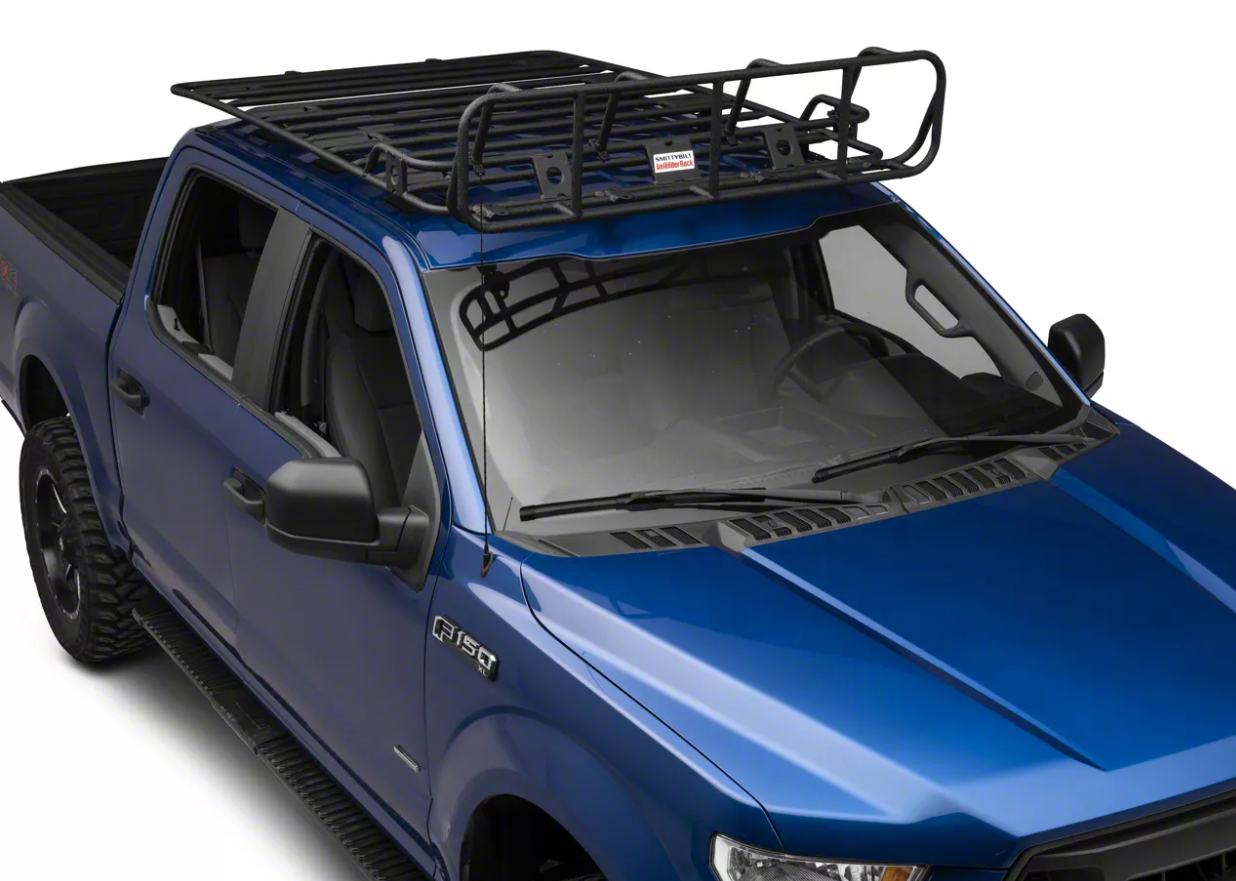
Need a roof rack and don’t really know where to start? Need to throw some skis, a kayak, 2 bikes, a roof top tent, and a spare tire up on your roof? If so, I would say you might need to cut back on a hobby or two, but that would be hypocritical of me. Don’t worry, we’re hobby enablers here are AT, so we’ll help you out anyway.
What crossbar length do I need?
You don’t want to overdo it and having them sticking out wider than your vehicle, so it’s important to find the right balance between what you need to carry and not being a hazard to passing cyclists. Ouch.
Here’s a general estimation on what each size will be able to carry:
- 50” long:
- 1-4 bikes
- 1-2 kayaks
- 2-4 surfboards
- 1-8 pairs of skis
- 1 cargo box that’s small enough to fit 1 bike beside it
- A small to medium-sized roof top tent
- 53”-60″ long:
- 1-5 bikes
- 1-2 kayaks
- 2-4 surfboards
- 1-10 pairs of skis
- 1 cargo box that’s small enough to fit 2 bikes beside it
- A medium to large size roof top tent
- 60″+:
- 1-6 bikes
- 1-2 kayaks
- 2-4 surfboards
- 1-12 pairs of skis
- 1 cargo box that’s small enough to fit 1 kayak beside it
- A large roof top tent
If you’re going to be carrying a lot of weight, it’s probably a good idea to check your owner’s manual first on what your roof and/or existing roof rails can handle. Each roof rack has a different weight capacity as well, and you don’t want to find out the hard way that you’re carrying more than you should up there.
Want to run a roof top tent?
Yeah, these things are trendy, but sometimes things are trendy for a reason. We’ve already gone into the pros and cons of a roof top tent that you can read here, but the short version is that we’re fans of them despite a few drawbacks.
So if you followed my advice above and actually went and checked your owners manual on how much your roof and roof rack are able to carry, then you might have noticed that the number given is significantly lower than what a roof top tent with a small family stuffed inside will end up weighing. First off, I’m proud of you for actually checking the manual (don’t lie if you didn’t, that’s just sad). Second, let’s talk about those numbers for a second:
Static VS dynamic weight on your roof
That number in your owner’s manual likely just lists the vehicle’s dynamic weight limit, which is what you’re rated to carry on the roof while driving. This rating doesn’t just take into account the physical strength of the roof or roof rails, it also encompasses your suspension and what is safe to drive around with up there. The more weight you add on the roof, the higher your vehicle’s center of gravity, which can really affect how your vehicle handles (and usually not for the better).
Static weight is how much you’re rated to carry without the vehicle being in motion. Unfortunately, this isn’t a number that is often given out by vehicle manufacturers, so as a general rule of thumb, anything over a 165 lbs dynamic rating and you’re good to go with a roof top tent.
What about wind noise and your precious MPGs?
Everything comes at a cost, and everything is a trade-off. Damn you, reality! Yes, roof racks can be a little noisy, and I hate to imagine how hard those poor aerodynamics engineers cringe at all the stuff we stack on top of our vehicles.
However, not all is lost! There are a few things you can do to mitigate the issue.
- Aerodynamic crossbars: Most of the big manufacturers have some sort of sleeker option of cross bars that will cut through the air a little more efficiently. The point is kinda moot if you throw a tire or something up there, but it all adds up. These do help to cut down on noise, though. Especially helpful if you have a sunroof.
- Wind fairings: Same deal as the cross bars, a wind fairing won’t negate all the extra drag, but again, it all adds up. Plus these have become something of a fashion accessory as well, so two birds with one stone, right?
- Take the rack off when you’re not using it: OK I know, duh, right? Well, I see plenty of people running these year-round, and 99% of the time they’ve got nothing on them. Again, sure, these are also a little bit of a sporty(?) fashion statement, but the point stands. If you’re annoyed by the wind noise or your wallet’s hurting with these increased gas prices, just pull that sucker off when you’re not using it. Most racks are pretty quick to remove, so no excuses for the lazy.
- Aerodynamic cargo boxes: Thule has kind of become the king of sporty roof top cargo boxes, and are a good solution for keeping your skis and other gear away from prying eyes. Being sleek and aerodynamic is just a bonus.
Pro Tips:
1. Before purchasing a roof rack, check your vehicle's owner's manual for weight limits and recommendations.
2. Consider the aerodynamics of your roof rack and accessories to reduce wind noise and maintain better fuel efficiency.
3. Remove the roof rack when it's not in use to save on gas and reduce wind noise.
Conclusion:
Choosing the right roof rack for your summer hauling needs is essential for both safety and convenience. Be sure to determine the appropriate crossbar length based on what you plan to carry and check your vehicle's weight limits. If you're interested in using a roof top tent, make sure your roof and rack can handle the added weight. Additionally, consider aerodynamic accessories to improve fuel efficiency and reduce wind noise. Follow these tips, and you'll be ready for your next summer adventure!