FREE 1 to 3-Day Delivery on Orders $149+ Details
How to Install a Window Deflector
AT Staff
/ Oct 13 2023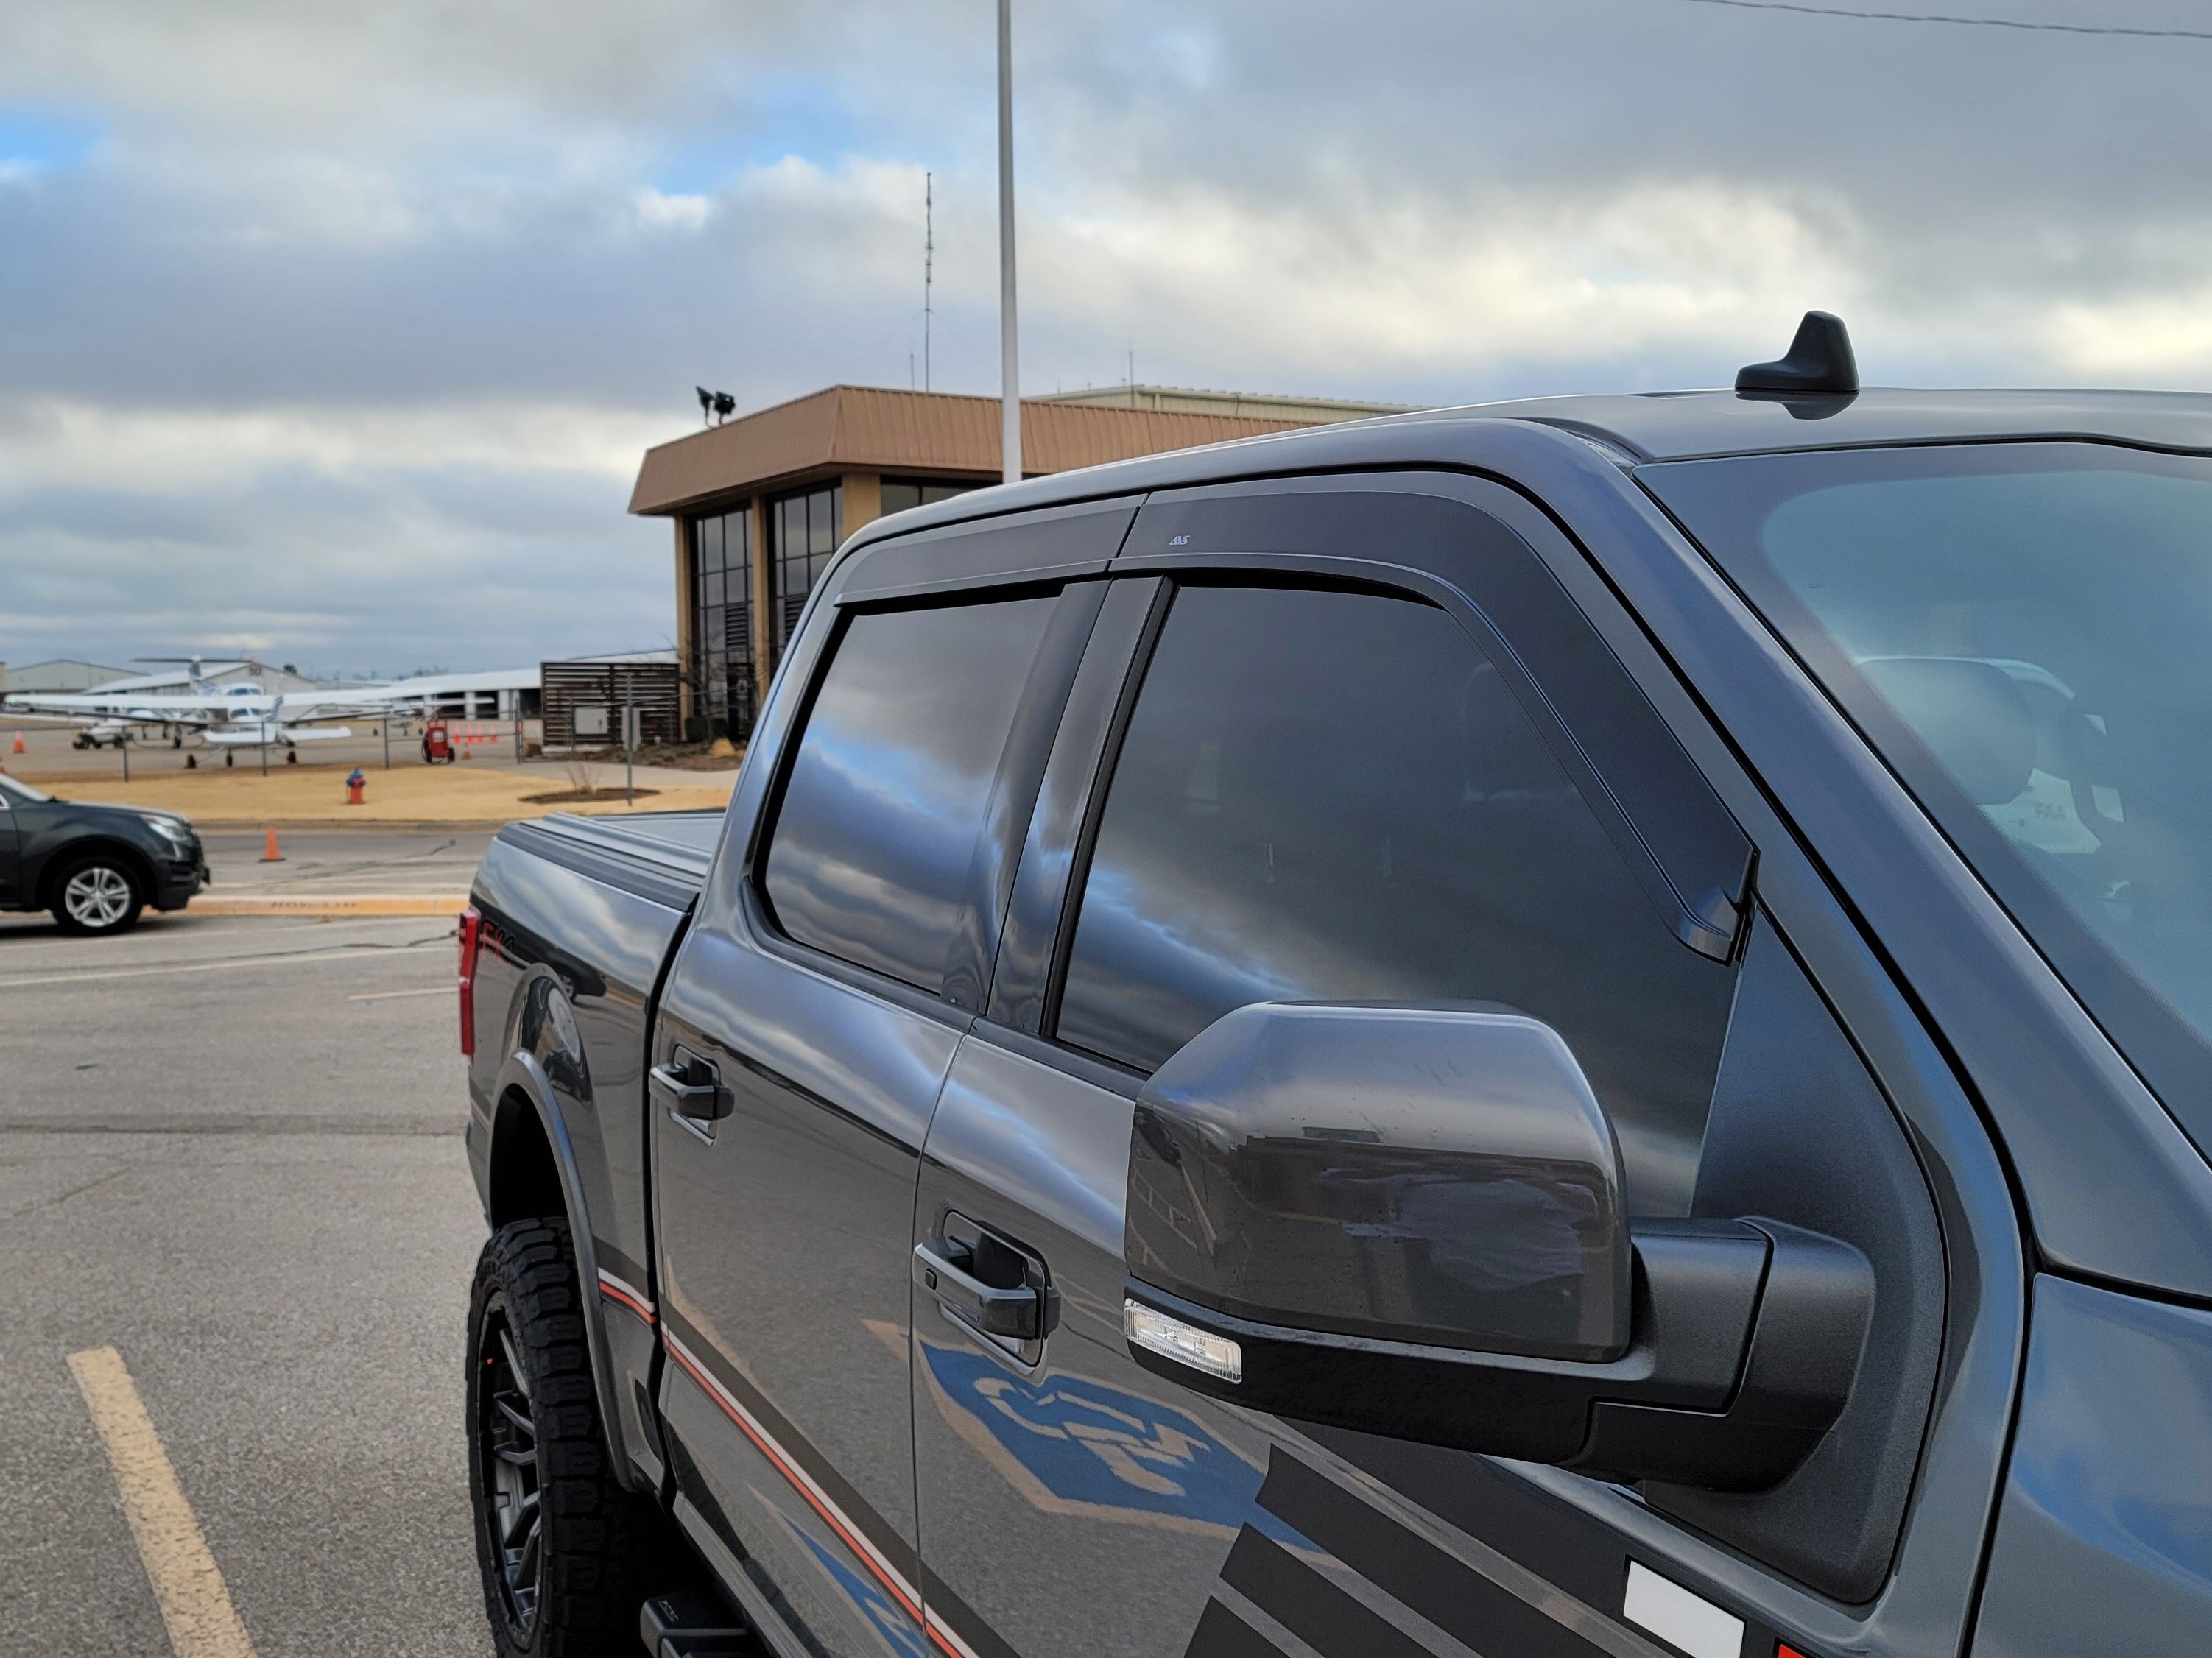
Among the easiest upgrades you can make, vent visors and window deflectors keep wind and weather out, while letting fresh air in. By blocking the whipping wind and driving rain, deflectors can make a huge difference when it comes to cabin comfort. Upon initial inspection, installing rain guards may seem like a very simple task. And while the steps are pretty straightforward, it’s important to take the time to do it right. Whether you’ve invested in adhesive deflectors or an in-channel set, we’ve done the footwork to find out exactly what you need to know about how to install rain guards.
Adhesive Window Deflector Installation
- Remove your deflectors from the box and verify you’ve received a complete left/right or front/rear set according to your purchase.
- Hold each deflector above the appropriate window to make sure you’re comfortable with the proper placement.
- Use an automotive surface cleaner or alcohol pad (which should be included) to wipe down the area where the tape will be applied. Any dirt or dust can weaken the adhesive’s life span.
- When the surface dries, slowly remove the backing strip to expose the adhesive about 2” and fold out the excess strip to make an easy-to-grip tab. Be very careful not to touch the adhesive before applying it.
- Carefully place your deflectors above your front window first, and using the slightly exposed adhesive, secure temporarily in place. Repeat the process with your rear window. Step back and ensure both visors line-up with the contours of your vehicle.
- Once properly placed, press firmly at the corners, and then slowly remove the rest of the backing strip, pressing along the visor as you go.
Pro Tip: Handling your deflectors with a cloth or gloves will ensure you don’t smudge them during installation.
In-Channel Window Deflector Installation
- Remove your deflectors from the box and verify you’ve received a complete left/right or front/rear set according to your purchase.
- Roll down every window where you intend on installing in-channel vent visors, after making sure they’re clean and dry.
- For front windows, make sure the front end of the deflector is on top of the sill and not sliding down into the door.
- Once the front end is in position, insert the deflector’s lip into the window channel. Bow the deflector towards you to create tension and slip the rear end of the lip into the window channel leaving a 0.5” gap.
- Working along from front to back, slide the deflector’s lip into the window channel. Once in place, a little outward pressure helps secure the deflector properly in the channel.
- For rear windows, most deflectors come with an additional adhesive strip. Simply remove the backing and fit the deflector into the rear window by turning it at a slight angle, then straightening it and sliding it into the channel.
- Raise the windows to fully secure the deflectors. It’s a good idea to pull out a bit on the deflector when you’re rolling up the windows for the first time.
Pro Tip: If you're unsure about the installation, consult the vehicle's user manual or seek professional assistance.
The Right Vent Visor for Your Ride
Now that we’ve covered the basics of how to install vent visors, it’s worth mentioning that for your specific vehicle, a full set of vent visors may include both tape-on and in-channel deflectors. Since the rear windows on a crew cab don’t roll down, the window deflectors will be in-channel on the front and tape-on in the back. Some vehicles, like a Jeep Wrangler that lacks a traditional window frame, will most likely require a complete set of adhesive vent visors, while most SUVs will allow you to choose between a full set of either type. Shop the vast selection of vent visors and deflectors available at AmericanTrucks and save with our 1-Year, Lower Price Guarantee and Free Shipping.
Conclusion
Installing window deflectors can be a simple yet effective upgrade for your vehicle. Whether you choose adhesive deflectors or in-channel vent visors, following the proper installation steps is crucial to ensure a secure fit and optimal performance. Make sure to clean the installation area thoroughly and handle the deflectors with care to avoid smudging. Additionally, consult your vehicle's user manual or seek professional assistance if you have any doubts about the installation process. Enjoy the benefits of improved cabin comfort and fresh air while driving with your newly installed window deflectors.